GOLFMK8
GOLFMK7
GOLFMK6
GOLFMKV

SPM Full engine mount Review and Install

Status
Not open for further replies.

A_Bowers

Moderator
Here it is, the first review on the board of the DRIVESPM Full engine mount kit.
Over the course of the next couple of weeks or so I will be giving a detailed installation and then after that initial impressions along with a month long update of how they are performing.

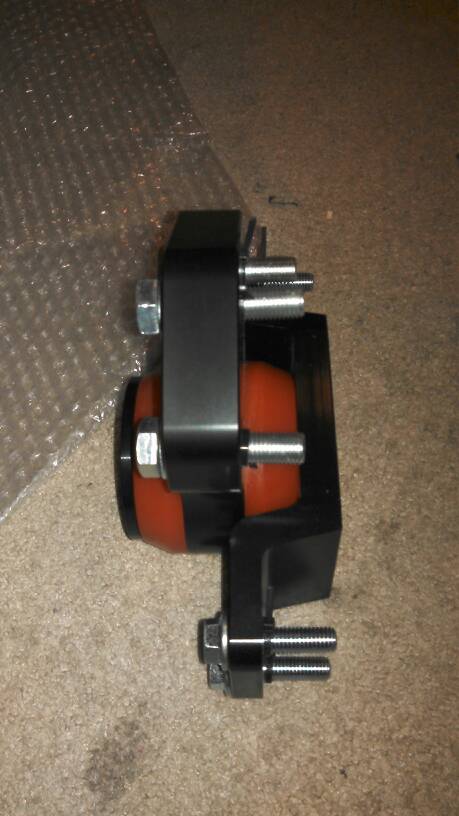
Without further adieu, Steve Petty Motorsports Full engine mounts (sitting in my living room floor at least).

DogBone Insert. Interesting to note, the material used is softer than the Energy Suspension one i have in the car currently (Modshack method/modified). Its more "gel like" than the hard rubber in the ES one.


SPM was nice enough to ziptie the hardware (included by the way) to the mounts in the proper location that they need to be installed in.


Once again the mount material is more "GEL" like than the OEM hard rubber and any other mount is on the market (that I have seen at least).


DogBone mount.


More Shots of the mount with Logo CNC'd onto the top.


Packaging is great. (Honestly much better than the IC packing....that was okay....this made sure nothing got damaged during transit.


Last edited:

A_Bowers

Moderator
I started with the passenger side, as there were less things to remove to get to the mount itself.

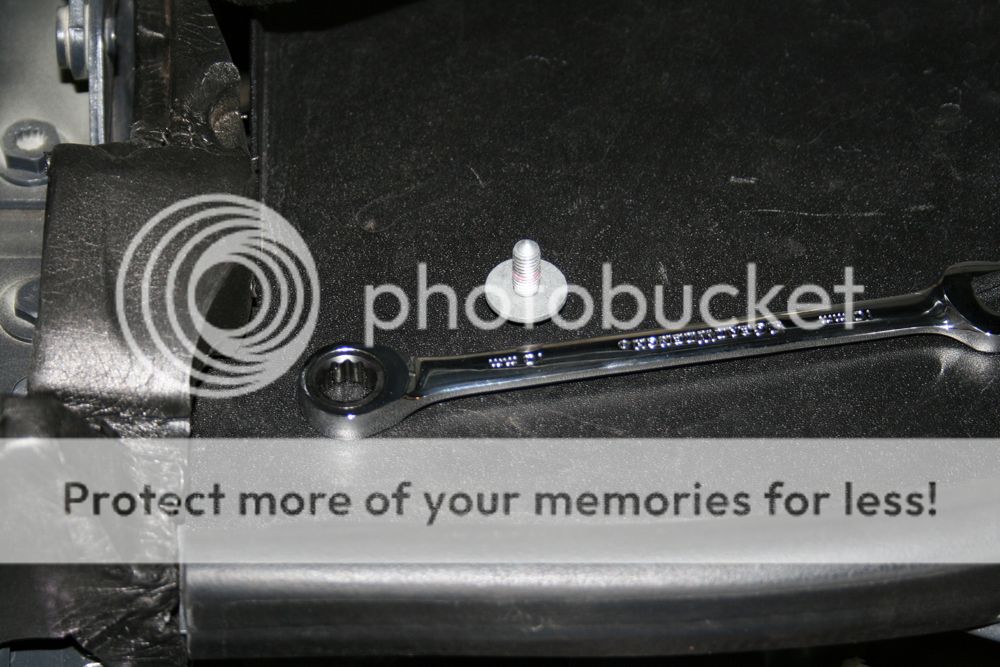
1.Remove 10 mm bolt from washer fluid fill neck


2.Remove top section of washer fill neck.
a.This pops out. Rotate back and forth and pull…it will pop out.

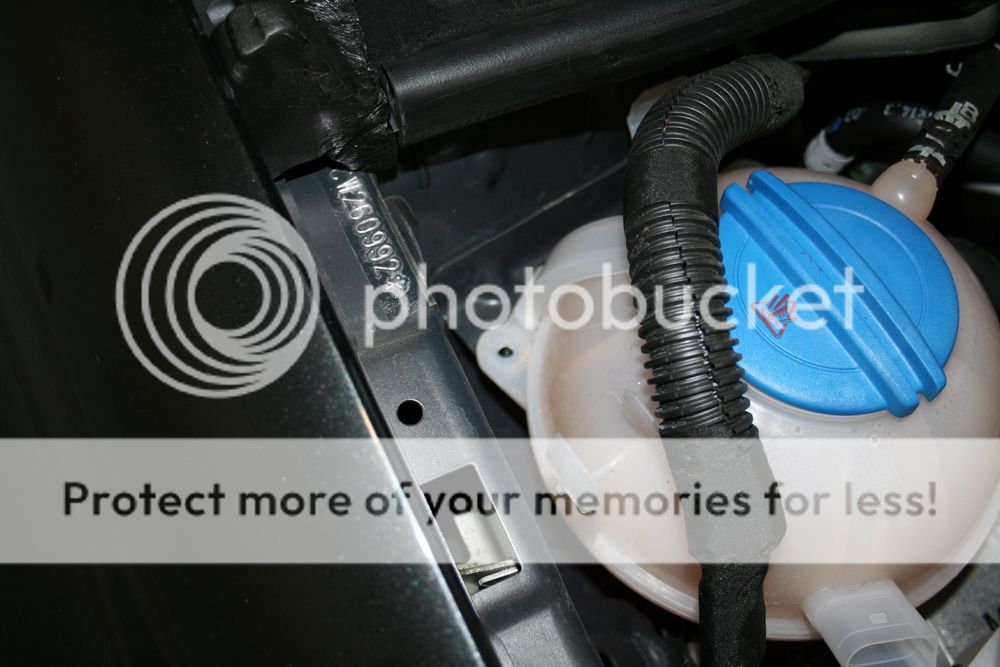
3.Remove coolant level sensor (push in towards bottle and press clip…pull off)

a.Be gentle, these clips can break


4.Remove the bracket from the mount to the frame of the car. 2 x 13mm bolts


5.Remove the 2 T25 torx head screws from firewall holding coolant reservoir on


a.Wiggle the coolant tank around to get it free of tabs and remove the wire loom

b.You can bend the hoses up to the right with the bottle attached, this will give you better access to the mount bolts.

6.Before removing the mount bolts, place a jack under the car, utilizing the oil pan as support for the motor. DO NOT PUT TOO MUCH UPWARD FORCE ON THE PAN, IT WILL DENT. (Didn’t do this, but just a warning)
a.Use a block of wood between the jack and the pan to provide a buffer.


7.Remove bolts from engine to mount 2 x 18mm.
a.These were on the car very tight. I used the extension from my jack to be a breaker bar on my wrench. Came right off.
b.You will have to wiggle the hoses out of the way (there is room there, but only just)


8.Remove bolts from mount to frame 2x 16mm.
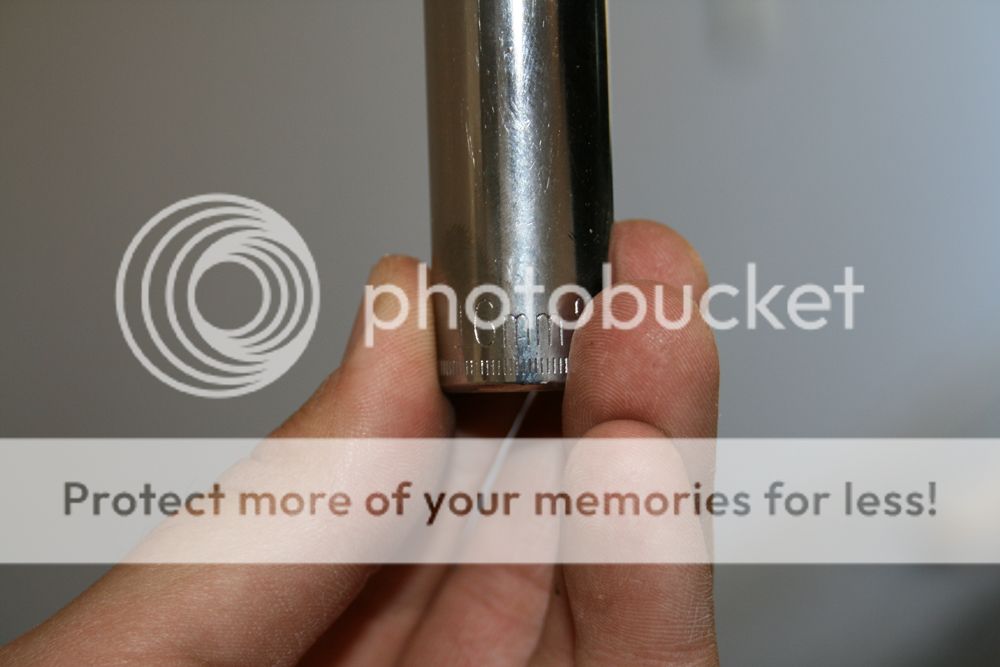
a. I used a deep well socket for extra reach, and because one of the bolts has a funny thread on one end…regular would not fit.


9.Remove mount from car


10.THIS IS IMPORTANT!!!! Make sure you have the FLAT edge towards the wheel well. IF NOT IT WILL NOT FIT!!!
a.I struggled and struggled to get bolt holes lined up...to no avail. Took mount out and turned it around, and it fit 1st time.


11.Bolt the mount to the frame of the car then to the motor. This gives you a solid working base from which you can line your motor side up to the mount
a.IF you have it, use an inspection mirror to make sure everything is lining up right on the underside of the mount. This should be very simple to see, as the mount has a ridge to fit into the motor side groove.
b.After getting everything hand tight, begin your torque process


12.TORQUE SPECS
a.MOUNT TO BODY 30ft-lbs.
b.MOUNT TO MOTOR 44ft-lbs
c.TOP BOLT 30ft-lbs
13.Install bracket for washer neck back to body and mount. 2x13mm bolts
14.Reinstall coolant reservoir
15.Reinstall washer filler neck and bolt to bracket 1 x 10mm
16.Finished with Passenger side.


DRIVER SIDE
1.Remove your intake (I have a Carbonio, so this process was a breeze).

2.Battery removal.
a.Several steps. Remove top plastic cover,
b.Remove front cover (this snaps into the front with two tabs. Push in and pull straight up.
c.Remove battery clamp (1x13mm)
d.Disconnect battery from POS and NEG. should be a 10mm nut
e.Remove battery from the car (its heavy, so man up)
f.Remove battery underside tray (3 x 10mm)
g.Remove motor ground from frame (13mm deep well) DO NOT DROP THIS NUT…it’s a pain to get out from the underbody tray


3.Support the transmission from under the car with a jack again
a.Use the actual transmission for this. Remember your block of wood.


4.Remove 3x18mm bolts from trans mount to trans (don’t know how tight these would be on your car….i had my trans out for clutch replacement a while back…they weren’t too difficult to get out this time)
a.You will have to adjust the jack a bit to make sure nothing is binding while removing the bolts. Use your own judgement


5.Next, unsnap the cable tray holding your wires from the OEM mount.
a.Front and back of the mount. Pull up and see where it was holding and pull straight up.
b.IF you removed the motor ground from the car, this will be able to move back and forth to allow you access to the bolts


6.Remove the 4x16mmbolts from the trans mount to body
a. Remove OEM mount


7.Install the SPM mount. The mount is physically smaller than the OEM one, so getting it back into the spot is quite a bit easier than getting the OEM one out.
a.Line up your holes and install the mount. Hand tighten the bolts first, then come back and torque them

\


8.Install 3x18mm bolts from mount to trans.
a.This may require you to move the trans back and forth a bit to line up the holes.
b.Once you get one started the others are very easy
c.Hand tighten the bolts

9.TORQUE SPECS
a.MOUNT TO BODY 30ft-lbs
b.MOUNT TO TRANS 44ft-lbs


10.Reinstall the motor ground to frame 1x 13mm nut

11.Snap the cable tray back into the OEM slots
a.Reinstall the battery tray 3X10mm bolts
b.Reinstall battery 1x13 bolt
c.Reinstall battery cover
d.Reconnect battery to cables


12.Reinstall intake OEM or aftermarket
a.Don’t forget your MAF sensor

13.Check for any loose tools and assorted equipment

14.Crank ‘er up!

15.Your TPMS ESC and a few others will be on for just a bit, drive around the block and they will go away.


That’s it for now. Ill post up the Pendulum mount install when mine gets back in.


UPDATE!!!

Here is the quick run down of the pendulum mount install..

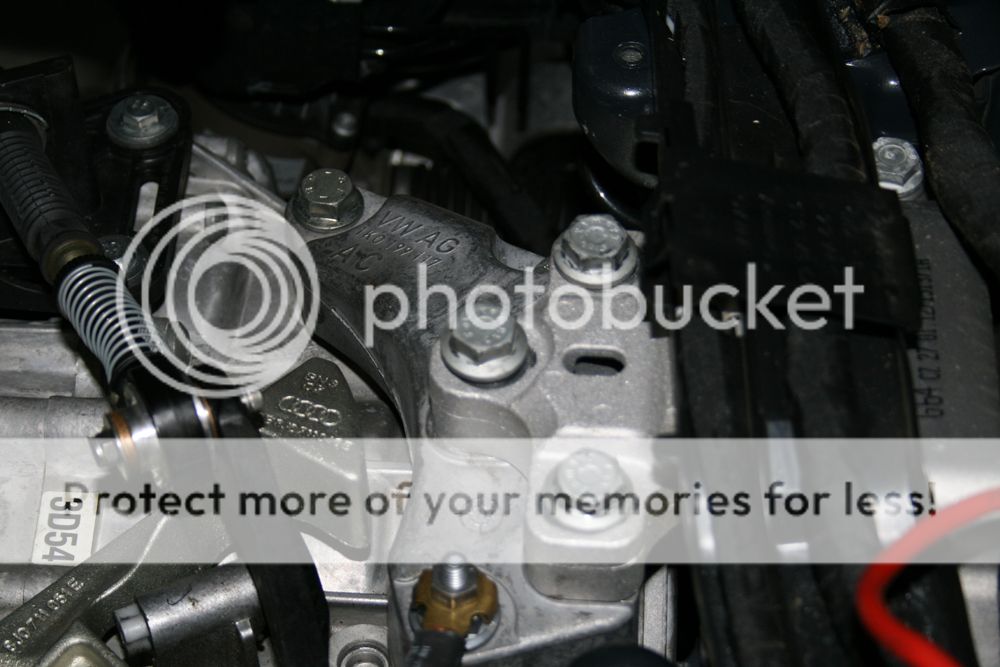
Remove 3 bolts. 2 on the pendulum arm and 1 on the "hockey puck"

Before removal


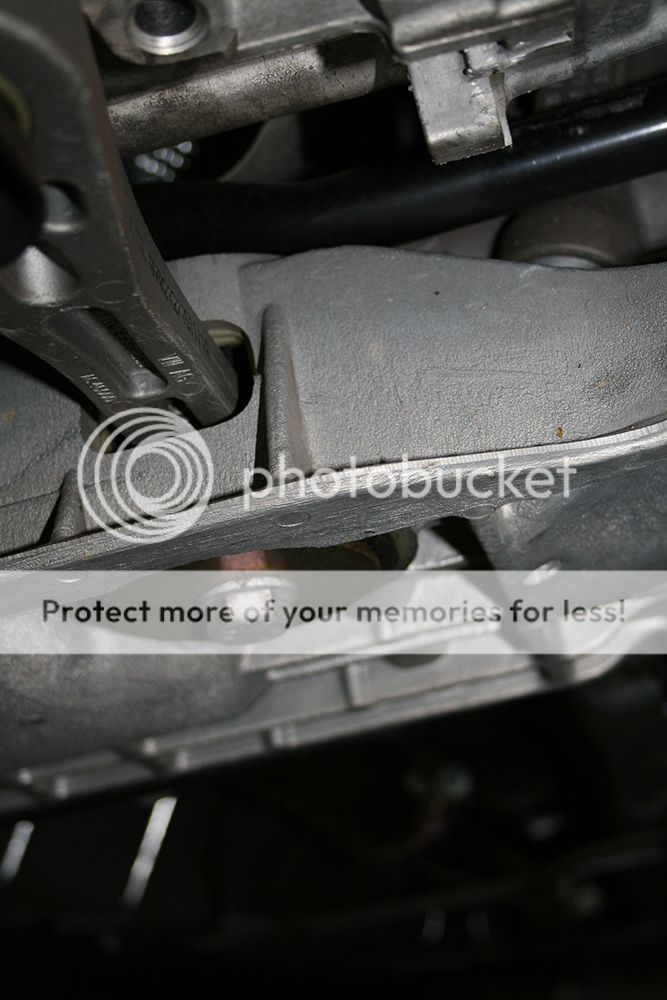
After Removal

Motor side is 2 x 16mm bolts and the "hockey puck" side is a 22mm Bolt


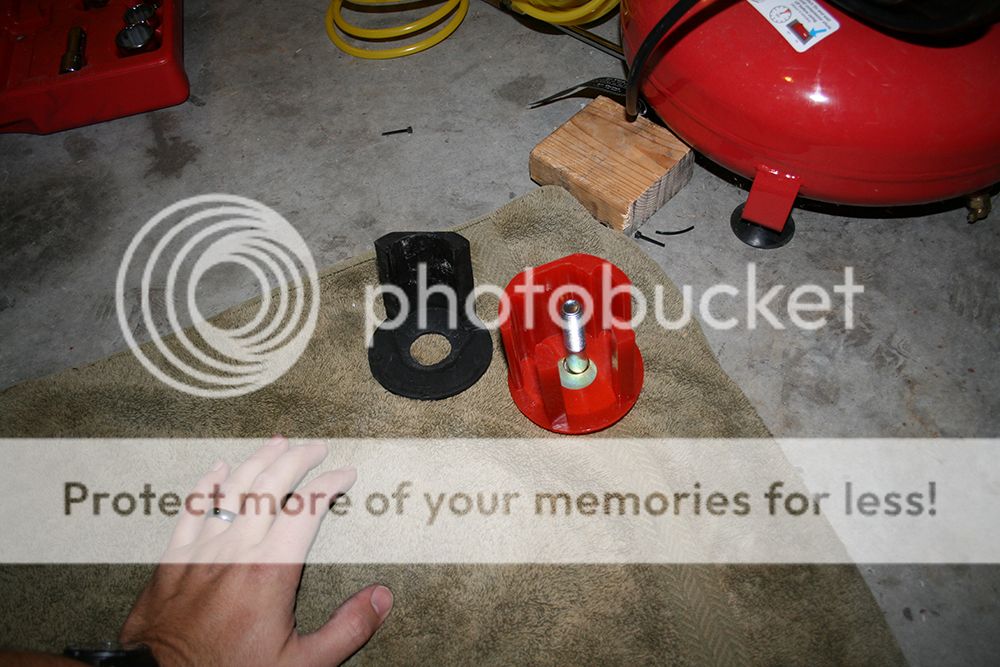
This is compared to my Energy suspension insert


YOU MUST USE A HUGE AMOUNT OF Anti seize or some sort of lubricant to get this thing in. IT IS VERY VERY TIGHT, it will go in, you just have to work it in there.


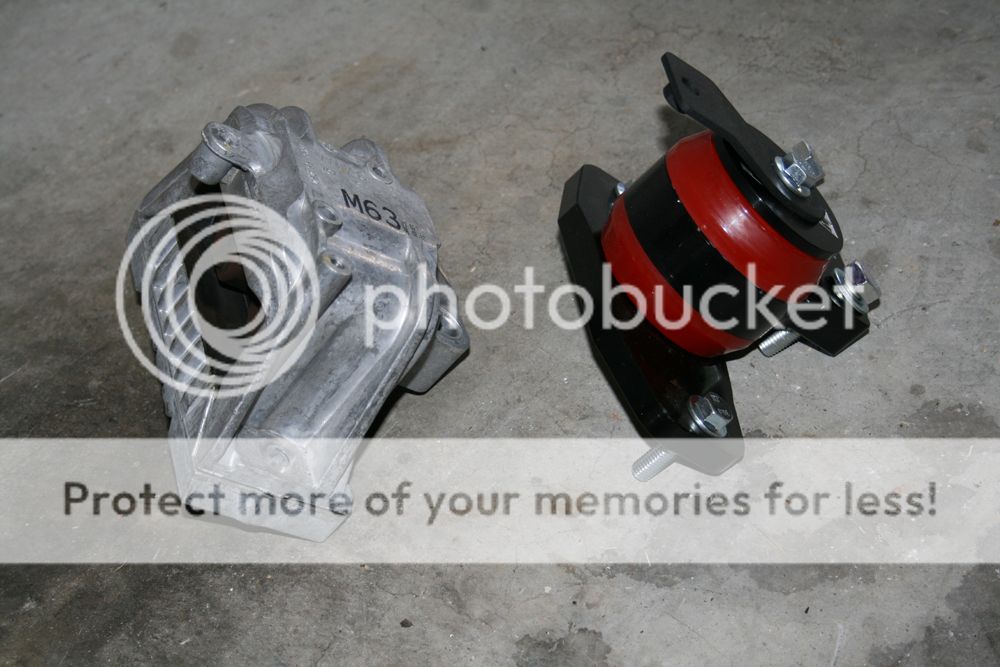
OEM vs SPM


When installing the new Pendulum mount you MUST HAVE 8MM ALLEN ratchet accessory.

Torque these to 30-lbft

"Hockey Puck" is torqued to 74-lbft.


Final work.

 
Last edited:

A_Bowers

Moderator
11/21/2012

Initial impressions.

Vibes. Lots of them. Now granted they havent been broken in yet, and I dont have the pendulum mount in yet either, but it vibes like crazy. Initially thought I had something off alignment or something, but I dont after a check out afterwards. Interesting to note, the vibes are felt through the car as its driving down the road. Wheel vibes in my hands, brake pedal vibrates...as others have said, they get better over time.

Driving impressions. No more flopping around in the engine bay. The thing is SOLID! throttle tip is isnt mushy anymore, its direct and linear, just like I had expected...which i like.
Let the car warm up after a bit and then took it around the block for a quick banging through the gears....shifts are super direct, and crisp (love that feeling), clutch take up is great, actual engagement is solid and direct.

I was having wheel hop at the top of second gear with the Energy suspension insert, (havent changed it out yet....waiting for pendulum). and now, its just wheel spin with TCS off...no hopping or axle tramp...just solid. Love it.


IF the vibes quiet down, this is going to be a great addition to the car. Very much looking forward to getting it all together and going for a real drive soon.


11/23/2012

Okay got about 120 miles on them now and they are quieting down as many have pointed out. Still solid, nice feel to the car. It feels "grounded to the ground" :D


I've been very pleased thus far, and if you can make it through the vibrations in the beginning you will be fine with these mounts

So far it looks like another home run for SPM. Keep it up guys!!!!!
More to come, stay tuned.


11/25/2012

Just ticked over 200 miles today and I am amazed at the timeline of vibration reduction. As if it was on cue at 200 miles they really quieted down. Idle is significantly improved with just a hint that there is something different on the inside. The area where the mounts are most noticeable is takeoff from a stop. After that it's small vibes going down the road. And they are totally bearable.
The first day I had them on the car the wife said what's up with your car.... did something break? I explained the mounts to her and that they would quiet down after a couple hundred miles. She commented today "did you fix the car....vibes are way down.". To me that's a big difference. Like Jared from DriveSPM said from. 7/10 to a 4/10. You will not have a stock like quiet simply because they are so much more substantial than the OEM ones, but they will as others have said quieted down immensely.

Looking forward to getting the pendulum mount on and the whole set tightened up.


11/26/2012

And yet another update.


Checked torque on my passenger mount tonight and nothing is out of the ordinary. Nice and tight as expected.

Gonna check the driver side tomorrow as it involves a bit more removal of parts.


I'm thrilled with these now. I was very skeptical at first as I was worried about vibrations but they are TOTALLY manageable.

Drove around tonight with hardly and issue.

Way to go SPM. Another knock out product.


Here is a short video of the mounts in action. No burnout....gotta preserve tires for a bit longer.


Working on getting a headrest mount for my flip camera soon.


12/10/12

Gotta say, im super pleased with these mounts. Over the past 500-600 miles or so, they have finally worn in and are totally useable for a daily driven vehicle. The whole front end has been tightened up, no more slop...My gear shifts (42dd bushings and S3 shifter) just click into place. Very satisfying and enjoyable.


One thing i have noticed, you can really get the car off the line very quickly with this setup. My clutch is quite grabby and these mounts allow for all the power to be transferred to the driveline (nothing lost in the slop) and it literally can jump off the line.

I find myself wanting to drive more and more. Love the car more every time I get in it now.


Next stop will be wheels/tires (i think)...
 
Last edited:

lamb110

Go Kart Champion
Were you given a special price for this review? and if so what was it? I think that needs to be disclosed. Paying for reviews is not cool.
 

A_Bowers

Moderator
Were you given a special price for this review? and if so what was it? I think that needs to be disclosed. Paying for reviews is not cool.

I was not given a special price for a review. I was not given a special price for my Intercooler either.

I really like what SPM is doing and their selling point.

And so I spend my moneys.


veedoubleme

Go Kart Champion
Paying for reviews is not cool.

Paying for reviews is fine, as long as that information is fully disclosed. Doesn't matter though, as it doesn't apply here anyway.
 

lamb110

Go Kart Champion
I was not given a special price for a review. I was not given a special price for my Intercooler either.

I really like what SPM is doing and their selling point.

And so I spend my moneys.

http://img.tapatalk.com/d/12/11/15/9ajy8yga.jpg[/IMG]
 

A_Bowers

Moderator
Can't wait to read the review. You having wheel hop and traction problems?

Yeah, I'm getting pretty bad axle tramp and hop at the top of 2nd....

The motor felt vague and disconnected vs my setup in the Acura. Until you have driven a car with engine mounts you really can't appreciate the immediacy of throttle tip in.

I hate the feeling of getting back onto the throttle and feeling the motor rock back onto the mounts.

I am looking forward to it.
 

project92raddoslc

Go Kart Champion
Were you given a special price for this review? and if so what was it? I think that needs to be disclosed. Paying for reviews is not cool.

I see no reason why this matter as long as the review is honest and tells both sides of the stories.

I think the majority of us here would not botch a review for a measly $400 in parts :rolleyes:
 
Status
Not open for further replies.
Top