darkxghost
Ready to race!
1/31/12- Updated with pics + tweaks/ added information is bold-faced.
Currently in the office with absolutely no new work for today, so figured I'd post some small know-hows and such for cleaning your entire car for the casual detailer (no machines).
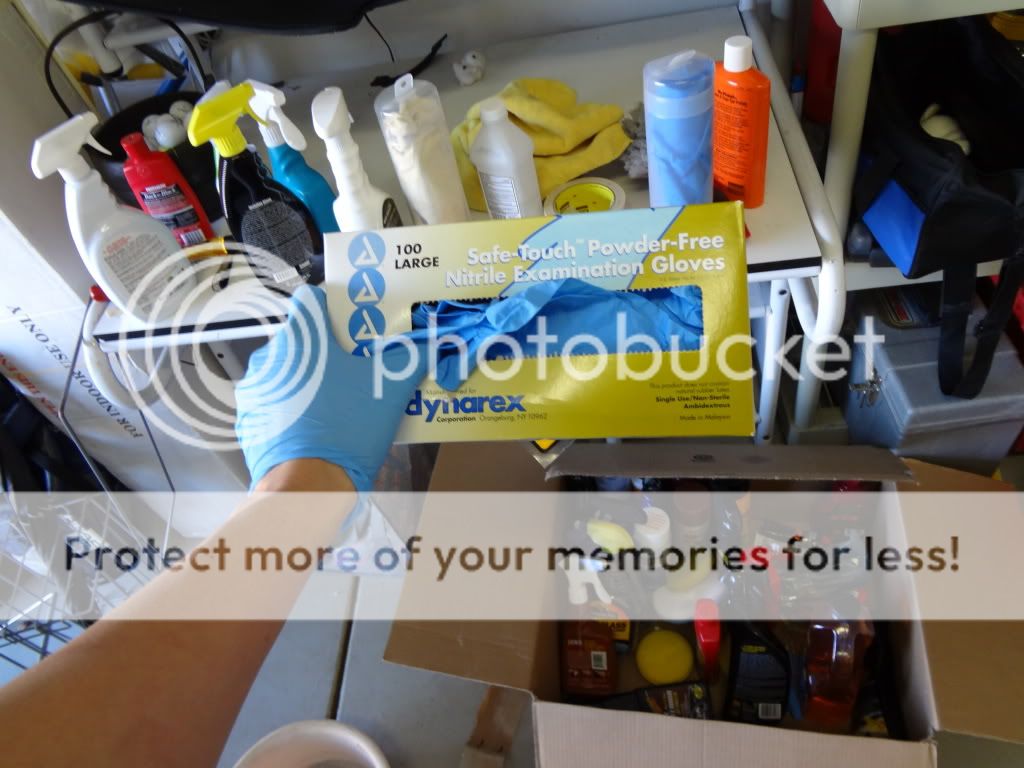
I buy almost all my products from Amazon as I find it to be very cheap there with free shipping and no tax at least where I live.

(Some of my products I've accumulated over the years)
Black cars have it pretty hard since if you have many swirls, this detail probably won't get rid of them.
WASHING:
-I like to use a plain bucket, a microfiber wash mitt, and some car wash shampoo. The brands really don't matter at all (again, for the casual detailer). I personally use meguiars Gold Class car wash and meguiar's wash mitt since both are cheap online.
-I also don't use the 2 bucket method, which is recommended! (darker cars, play it safe and use the 2 bucket method). Instead, I dunk, wash a panel, and use my hose to power rinse my mitt before dunking it back into the bucket.

(Meguiars microfiber wash mitt + Meguiars Gold class wash/conditioner)
-I wash my car in parts. I'll start from the top + both windshields, rinse. Then one side of the car, and rinse. Then the other side, rinse. The front, rinse. The back, rinse.

-For the bottom panels (where side skirts will be, front lower bumper, rear lower bumper), use as much water to rinse thoroughly before using soap. These areas have much more dirt. You don't want to spread this to other parts of the car.
-For the wheels, I use a different sponge entirely. Thank you for VW making detroits because they are so easy to clean.

(Sponge that was included in one of the Meguiars detail kits I bought ways back)
CLAY
-Don't dry the car, Instead, dump your bucket and formulate another soapy solution of car wash.
-Use your wash mitt and get a panel of the car really soapy. Take clay bar (after kneading it a few times, play with it), and glide from left to right, top to bottom. I like to work in 2 feet x 2 feet panels, sometimes bigger size panels if there isn't much grit. Rinse and repeat for other panels. Some people like to clay the windows, I don't. Also, don't clay the B pillars as they don't seem to catch dirt like the paint.
-Don't put pressure using clay!
ENGINE BAY:
-If you're engine bay is filthy filthy, look up a guide on what to cover up in the engine bay with trash bags and hose away.
-What I like to do is buy engine degreasers. They come in cans and I just spray away and wipe off. Very easy. You can also use quick detailers. Use an old towel you won't use again.
DRY
-I use a synthetic shammy called the absorber. It's cheap online and it gets the job done. Start from the top and work your way down. For wheels, I use a separate towel.

(for my paint)

(for my wheels)
-Open all doors/ trunk to let the water drip for a few minutes. Then go back and wipe the left over water.
DRIVE FOR 2 MINUTES
-I really encourage driving after the wash. You'll have rusty rotors from the water, etc. I just like to drive so that my rotors get warm to prevent water marks.
Polish/ Compound/ w/e


(you don't want rusty rotors do you?)
-Before, get regular masking tape and tape off your trim! (the black stuff throughout your car). Below headlights, across your windshield/sunroof, around headlights/ tailights, emblems, badges, etc. You don't want wax on these parts. You will stain your trim.


(No need to tape the trim near the top of each door since you can just keep your doors opened while working on them)


(As you can see, I strive for "speed" rather than quality haha. Try to take your time)
-Here, there are lots of otc products you can use. For me, I personally don't use compounds because I have a white car. So I use step 1 and 2 of mother's 3 step system. I've tried others, and they are all fairly good, I just happen to have mother's products currently.

(Mothers 3 step kit)
-Use an applicator pad. Foam, microfiber, it doesn't matter (again for the casual detailer). Put polish/ compound near the edges of the applicator pad. You don't want to use the center of the pad. Firmly, but gently (if that makes sense) apply in circular motions, going over the areas you already passed. (for darker cars, I would go left to right, up to down, to prevent swirls). I work in 2ft x 2ft panels again. I also recommend getting latex or nitrile gloves! Wax, Polish, etc on your hands will dry out your hand. Also, it makes gripping the pads easier.

(Notice I apply the products near the edge)

(Got these for cheap)
-This takes some time, don't rush. Instead just go inside and do something else if your arm gets tired (it will get tired by hand).
-If you used a scratch removing compound, follow up with a polish. Example: mothers 2 step system. First is a paint prep (light scratch/swirl remover), Second is the polish. The polish will simply make any light hazes or dullness disappear. (Although by hand, you probably won't notice anything. I'm not quite sure why I even do the 2 steps to begin with.)
SEAL/ WAX
-Some "waxes" are labeled as sealants. While some waxes don't do a good job at sealing.
-Personally, if you aren't using a heavy compound, just go for a carnuba wax and you'll be perfectly fine. Heck, even if you used an otc compound, it's not that strong of a cut that you'll need a super strong sealant. Anyways, with the wax, you can apply the same way as the polish. However, you don't need to work in 2ft x 2ft panels. I just wax the entire car, then wipe off in the same order I waxed on. Takes me 20 minutes for the first coat of wax, so by the time I wipe off, the first panel will have 20 minutes of setting time which is perfect. (you can do the swipe test if you want: swipe finger on waxed panel and if the wax comes off easily, you can wipe off)
-Fold a microfiber towel in half, 2 times. Wipe, then flip and buff out. Repeat. You can refold the towel in different orientations so that you can get fresh sides to wipe. It is recommended to fold 2x because it creates the perfect pressure for wiping off.
DETAIL:
-Remove all masking tape.
-Get a quick detailer (mother's makes one, meguiars makes one, everyone makes one)

(Meguiars ultimate quick detailer)
-Go through each panel, spray and wipe. I would focus on the areas you taped your car, because those areas are not treated with the wax, etc. Spray emblems, badges, w/e. It is safe.
-For the mirrors, I'll use some auto window cleaner, very small amount.
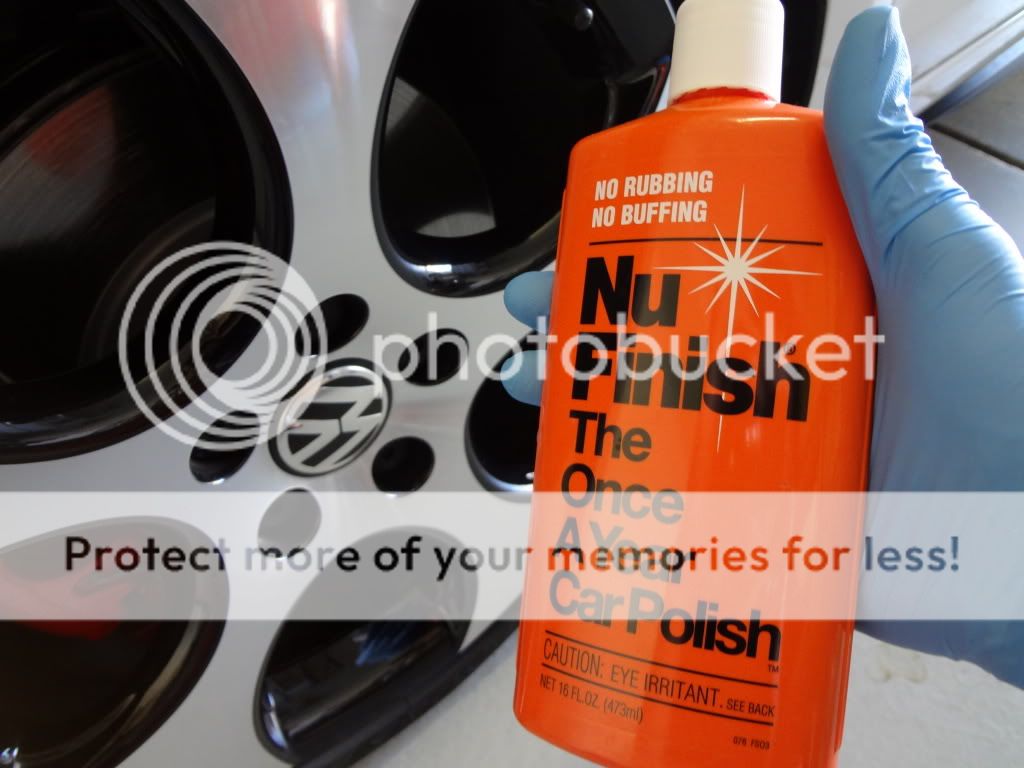
WHEELS:
-I like to use NuFinish for my wheels. It's works as a sealant. Very Very easy to apply. Simply wipe off, slightly buff out, and wipe off. Protects the wheels, but the best part is that the next time you wash your car, it makes it so easy to clean, and the water just practically beads off.
TIRES:
-Any tire dressing works.
-I don't like to use the tire sprays because it's a little too oily.
-I started using 303 aerospace protectant or vinylex these days on the tire. They work great.

EXTERIOR TRIM:
-Speaking of 303 aerospace protectant or Vinylex, use this on all the black trim you can find, including the area where your wiper blades are, as well as the wiper blades. Pretty much everything black outside your car, protectant it. (If your car is black, do not spray this on to the paint haha).
-Easy application, get a towel, spray it on, wipe on, wait 10 seconds, wipe off. This is very good because the sun causes the black trim pieces to turn gray after a while.

(Simply spray)

(And apply)
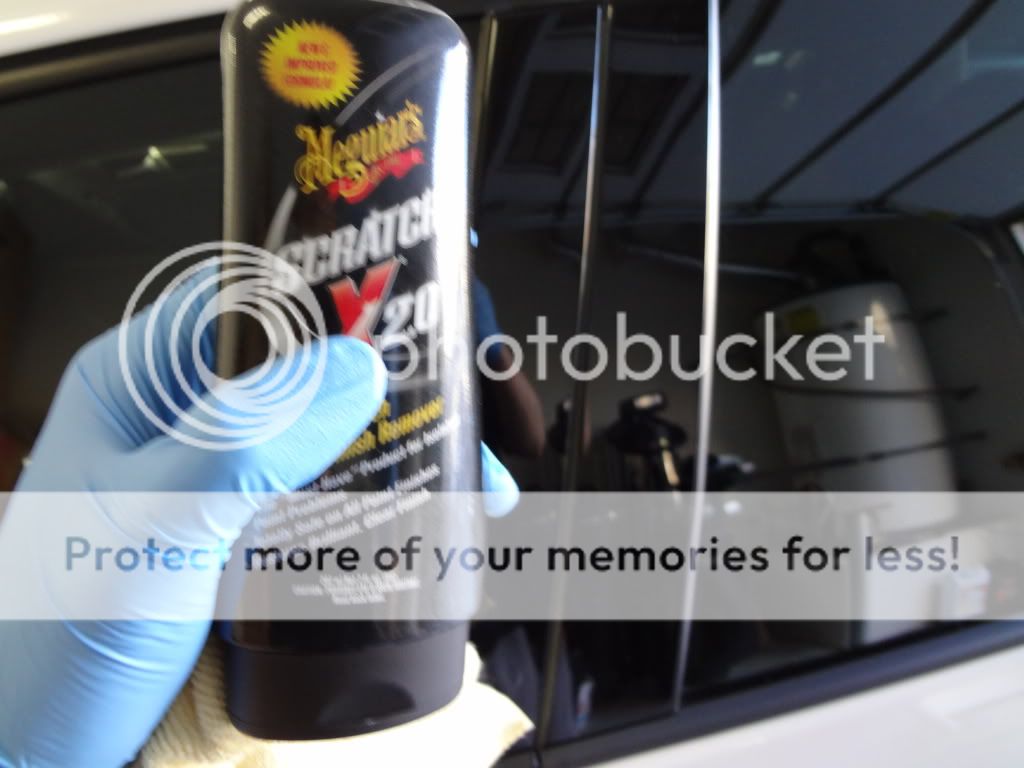
-DO NOT USE ON THE B PILLAR GLOSSY PLASTIC PIECES.
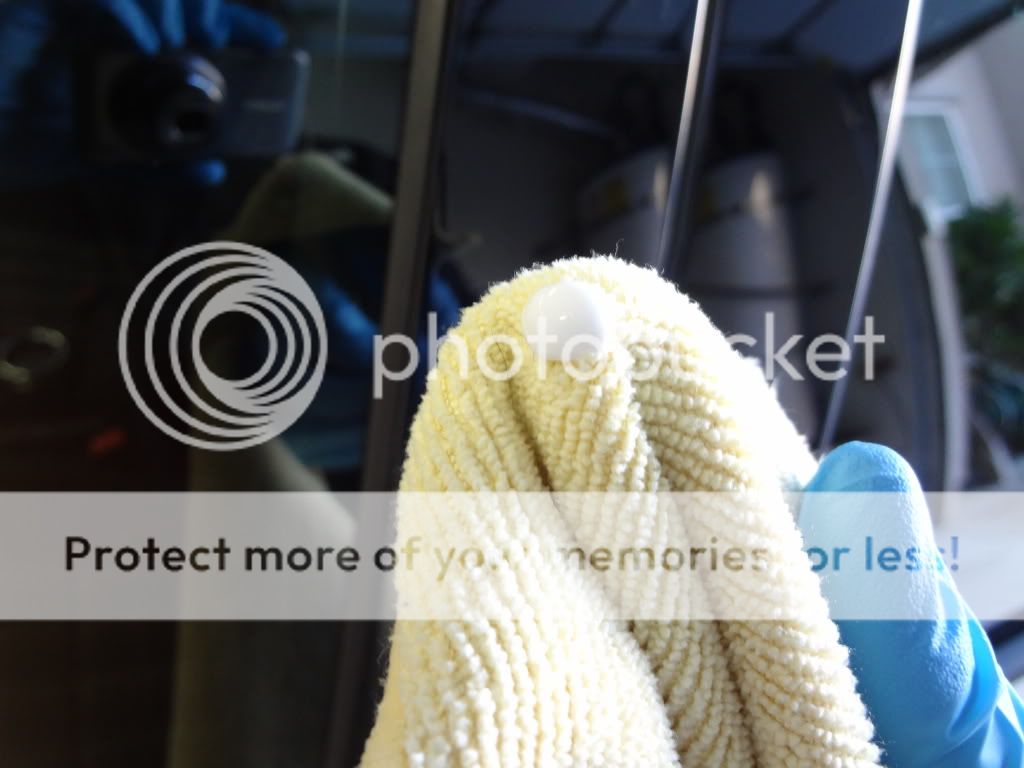
-For the B Pillar glossy plastic pieces, I like to use meguiars scratch x 2.0. These things get swirls and scratches so easily it's unbelievable. Simply wipe on towel, buff in small circles, and wipe off. Swirls come off fairly well. After doing this, do a final detail with a quick detailer spray.
(apply a little)

(and work its magic)
WINDOWS:
-Stoners invisible glass. Love this stuff. I wipe on with towel, wipe off.

-Remember to do both sides of the windows.
-Remember to get AMMONIA FREE products if you have window tinting. But just get Stoner's invisible glass and you're golden. I love that stuff.
EXHAUST TIPS:
I use an old t shirt or microfiber towel I will never touch again, spray quick detailer, and wipe away the grime. I follow up with an aluminum polish.

INTERIOR:
VACUUM:
-I have monster mats and I make an effort not to get my shoes dirty so I don't vacuum the floors all that much at all. However, carpet users, get your carpets out and give it a good vacuum. If you have many stains, get a fabric/ upholstery cleaner for cars and spray and scrub. (3m auto fabric and carpet cleaner, blue coral, mothers, meguiars, eco-touch, they all make these products)
-Vacuum seats if you have a lot of dust/ lint on them.
DASH/ DOOR PANELS:
-303 aerospace protectant or Vinylex. Spray on towel, wipe on, wipe off. Try not to use any other protectants, they shine a lot.
-Don't forget about the back side of the rear view mirror!
INSTRUMENT GAUGES/ SENSITIVE TRIM PIECES.
-for the clear covers that shield your speedometer, use a VERY CLEAN MICROFIBER towel, and simply "dust" it off. You don't want to risk scratching these areas, it's very sensitive. You can also use a static duster or compressed air.

(cheap static duster)
-Also, people with navigation systems, the gloss piece. "dust" it off, don't scrub. (I think the new VWs come with the touch screen stereo that also has gloss black) Anything gloss black in the interior, "dust off."
STEERING WHEEL:
-I like to use Lexol Leather Conditioner.

-If its very grimy, use a quick detailer before using conditioner. I like to spray a little on a towel. There is a leather cleaner available, but I like to save money. The quick detailer works fine. Meguiars makes a detailer for the interior as well that is very cheap.
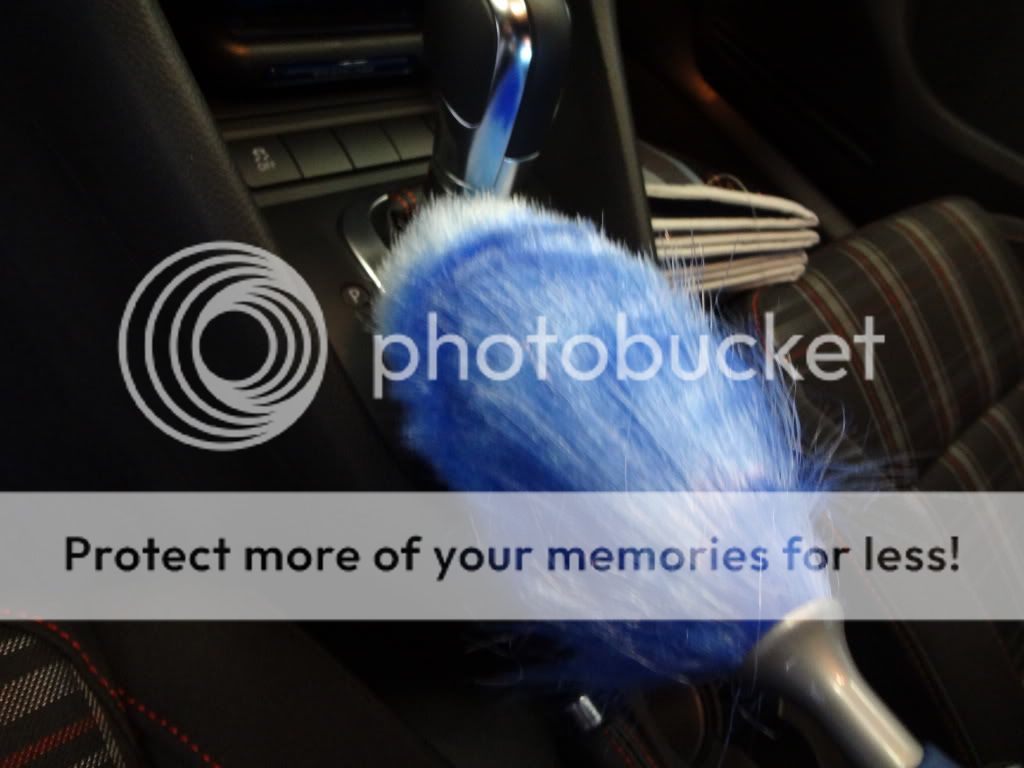
-Do the same for the shift boot, and e-brake handle.
SEATS:
-For cloth seats, if it's not stained, just use any fabric/ upholstery cleaner for cars (mentioned previously), and lightly spray onto towel and slightly glide across seats. Don't scrub if you don't need to. You want to preserve the texture of the original seats.
-Then you use protectant for the seats. Cloth seats, use Scotchgard for auto, or 303 fabric protectant, or any others you might like.
-The protectant is very important. It will prevent spills from penetrating the seats, but more importantly, the sun won't fade your seats.
-For leather seats, I recommend Lexol leather cleaner + leather conditioner. These two should get you by. Easy application. Wipe on towel, Wipe on, wipe off.
EVERYTHING ELSE IN THE INTERIOR:
-Things like turn signals, part of the steering wheel on the back, door handle interior, cup holder area, air vents, etc. You can use a quick detailer to wipe off any dust/ debris.
Then you get a clean car. Not perfect by any means.


-Hope you may have picked up something. This may not seem "casual" for some, but honestly, it is casual. Full, professional details MUST include machines to get that absolute perfect paint finish. Also, these guys will use products that they've worked with for years from personal experience. This detail I wrote will get you a VERY clean car, just not absolute perfection you will get from using machines from a professional detailer. I have a porter cable in my garage but I don't bother using it on my car because it is white. I used occasionally on my previous black car. Learn well before you use machines. (Although most of them are very user friendly).
-Lastly, I noticed I wasn't putting everything in the best order when it comes to steps.
Currently in the office with absolutely no new work for today, so figured I'd post some small know-hows and such for cleaning your entire car for the casual detailer (no machines).
I buy almost all my products from Amazon as I find it to be very cheap there with free shipping and no tax at least where I live.
(Some of my products I've accumulated over the years)
Black cars have it pretty hard since if you have many swirls, this detail probably won't get rid of them.
WASHING:
-I like to use a plain bucket, a microfiber wash mitt, and some car wash shampoo. The brands really don't matter at all (again, for the casual detailer). I personally use meguiars Gold Class car wash and meguiar's wash mitt since both are cheap online.
-I also don't use the 2 bucket method, which is recommended! (darker cars, play it safe and use the 2 bucket method). Instead, I dunk, wash a panel, and use my hose to power rinse my mitt before dunking it back into the bucket.
(Meguiars microfiber wash mitt + Meguiars Gold class wash/conditioner)
-I wash my car in parts. I'll start from the top + both windshields, rinse. Then one side of the car, and rinse. Then the other side, rinse. The front, rinse. The back, rinse.
-For the bottom panels (where side skirts will be, front lower bumper, rear lower bumper), use as much water to rinse thoroughly before using soap. These areas have much more dirt. You don't want to spread this to other parts of the car.
-For the wheels, I use a different sponge entirely. Thank you for VW making detroits because they are so easy to clean.
(Sponge that was included in one of the Meguiars detail kits I bought ways back)
CLAY
-Don't dry the car, Instead, dump your bucket and formulate another soapy solution of car wash.
-Use your wash mitt and get a panel of the car really soapy. Take clay bar (after kneading it a few times, play with it), and glide from left to right, top to bottom. I like to work in 2 feet x 2 feet panels, sometimes bigger size panels if there isn't much grit. Rinse and repeat for other panels. Some people like to clay the windows, I don't. Also, don't clay the B pillars as they don't seem to catch dirt like the paint.
-Don't put pressure using clay!
ENGINE BAY:
-If you're engine bay is filthy filthy, look up a guide on what to cover up in the engine bay with trash bags and hose away.
-What I like to do is buy engine degreasers. They come in cans and I just spray away and wipe off. Very easy. You can also use quick detailers. Use an old towel you won't use again.
DRY
-I use a synthetic shammy called the absorber. It's cheap online and it gets the job done. Start from the top and work your way down. For wheels, I use a separate towel.
(for my paint)
(for my wheels)
-Open all doors/ trunk to let the water drip for a few minutes. Then go back and wipe the left over water.
DRIVE FOR 2 MINUTES
-I really encourage driving after the wash. You'll have rusty rotors from the water, etc. I just like to drive so that my rotors get warm to prevent water marks.
Polish/ Compound/ w/e
(you don't want rusty rotors do you?)
-Before, get regular masking tape and tape off your trim! (the black stuff throughout your car). Below headlights, across your windshield/sunroof, around headlights/ tailights, emblems, badges, etc. You don't want wax on these parts. You will stain your trim.
(No need to tape the trim near the top of each door since you can just keep your doors opened while working on them)
(As you can see, I strive for "speed" rather than quality haha. Try to take your time)
-Here, there are lots of otc products you can use. For me, I personally don't use compounds because I have a white car. So I use step 1 and 2 of mother's 3 step system. I've tried others, and they are all fairly good, I just happen to have mother's products currently.
(Mothers 3 step kit)
-Use an applicator pad. Foam, microfiber, it doesn't matter (again for the casual detailer). Put polish/ compound near the edges of the applicator pad. You don't want to use the center of the pad. Firmly, but gently (if that makes sense) apply in circular motions, going over the areas you already passed. (for darker cars, I would go left to right, up to down, to prevent swirls). I work in 2ft x 2ft panels again. I also recommend getting latex or nitrile gloves! Wax, Polish, etc on your hands will dry out your hand. Also, it makes gripping the pads easier.
(Notice I apply the products near the edge)
(Got these for cheap)
-This takes some time, don't rush. Instead just go inside and do something else if your arm gets tired (it will get tired by hand).
-If you used a scratch removing compound, follow up with a polish. Example: mothers 2 step system. First is a paint prep (light scratch/swirl remover), Second is the polish. The polish will simply make any light hazes or dullness disappear. (Although by hand, you probably won't notice anything. I'm not quite sure why I even do the 2 steps to begin with.)
SEAL/ WAX
-Some "waxes" are labeled as sealants. While some waxes don't do a good job at sealing.
-Personally, if you aren't using a heavy compound, just go for a carnuba wax and you'll be perfectly fine. Heck, even if you used an otc compound, it's not that strong of a cut that you'll need a super strong sealant. Anyways, with the wax, you can apply the same way as the polish. However, you don't need to work in 2ft x 2ft panels. I just wax the entire car, then wipe off in the same order I waxed on. Takes me 20 minutes for the first coat of wax, so by the time I wipe off, the first panel will have 20 minutes of setting time which is perfect. (you can do the swipe test if you want: swipe finger on waxed panel and if the wax comes off easily, you can wipe off)
-Fold a microfiber towel in half, 2 times. Wipe, then flip and buff out. Repeat. You can refold the towel in different orientations so that you can get fresh sides to wipe. It is recommended to fold 2x because it creates the perfect pressure for wiping off.
DETAIL:
-Remove all masking tape.
-Get a quick detailer (mother's makes one, meguiars makes one, everyone makes one)
(Meguiars ultimate quick detailer)
-Go through each panel, spray and wipe. I would focus on the areas you taped your car, because those areas are not treated with the wax, etc. Spray emblems, badges, w/e. It is safe.
-For the mirrors, I'll use some auto window cleaner, very small amount.
WHEELS:
-I like to use NuFinish for my wheels. It's works as a sealant. Very Very easy to apply. Simply wipe off, slightly buff out, and wipe off. Protects the wheels, but the best part is that the next time you wash your car, it makes it so easy to clean, and the water just practically beads off.
TIRES:
-Any tire dressing works.
-I don't like to use the tire sprays because it's a little too oily.
-I started using 303 aerospace protectant or vinylex these days on the tire. They work great.
EXTERIOR TRIM:
-Speaking of 303 aerospace protectant or Vinylex, use this on all the black trim you can find, including the area where your wiper blades are, as well as the wiper blades. Pretty much everything black outside your car, protectant it. (If your car is black, do not spray this on to the paint haha).
-Easy application, get a towel, spray it on, wipe on, wait 10 seconds, wipe off. This is very good because the sun causes the black trim pieces to turn gray after a while.
(Simply spray)
(And apply)
-DO NOT USE ON THE B PILLAR GLOSSY PLASTIC PIECES.
-For the B Pillar glossy plastic pieces, I like to use meguiars scratch x 2.0. These things get swirls and scratches so easily it's unbelievable. Simply wipe on towel, buff in small circles, and wipe off. Swirls come off fairly well. After doing this, do a final detail with a quick detailer spray.
(apply a little)
(and work its magic)
WINDOWS:
-Stoners invisible glass. Love this stuff. I wipe on with towel, wipe off.
-Remember to do both sides of the windows.
-Remember to get AMMONIA FREE products if you have window tinting. But just get Stoner's invisible glass and you're golden. I love that stuff.
EXHAUST TIPS:
I use an old t shirt or microfiber towel I will never touch again, spray quick detailer, and wipe away the grime. I follow up with an aluminum polish.
INTERIOR:
VACUUM:
-I have monster mats and I make an effort not to get my shoes dirty so I don't vacuum the floors all that much at all. However, carpet users, get your carpets out and give it a good vacuum. If you have many stains, get a fabric/ upholstery cleaner for cars and spray and scrub. (3m auto fabric and carpet cleaner, blue coral, mothers, meguiars, eco-touch, they all make these products)
-Vacuum seats if you have a lot of dust/ lint on them.
DASH/ DOOR PANELS:
-303 aerospace protectant or Vinylex. Spray on towel, wipe on, wipe off. Try not to use any other protectants, they shine a lot.
-Don't forget about the back side of the rear view mirror!
INSTRUMENT GAUGES/ SENSITIVE TRIM PIECES.
-for the clear covers that shield your speedometer, use a VERY CLEAN MICROFIBER towel, and simply "dust" it off. You don't want to risk scratching these areas, it's very sensitive. You can also use a static duster or compressed air.
(cheap static duster)
-Also, people with navigation systems, the gloss piece. "dust" it off, don't scrub. (I think the new VWs come with the touch screen stereo that also has gloss black) Anything gloss black in the interior, "dust off."
STEERING WHEEL:
-I like to use Lexol Leather Conditioner.
-If its very grimy, use a quick detailer before using conditioner. I like to spray a little on a towel. There is a leather cleaner available, but I like to save money. The quick detailer works fine. Meguiars makes a detailer for the interior as well that is very cheap.
-Do the same for the shift boot, and e-brake handle.
SEATS:
-For cloth seats, if it's not stained, just use any fabric/ upholstery cleaner for cars (mentioned previously), and lightly spray onto towel and slightly glide across seats. Don't scrub if you don't need to. You want to preserve the texture of the original seats.
-Then you use protectant for the seats. Cloth seats, use Scotchgard for auto, or 303 fabric protectant, or any others you might like.
-The protectant is very important. It will prevent spills from penetrating the seats, but more importantly, the sun won't fade your seats.
-For leather seats, I recommend Lexol leather cleaner + leather conditioner. These two should get you by. Easy application. Wipe on towel, Wipe on, wipe off.
EVERYTHING ELSE IN THE INTERIOR:
-Things like turn signals, part of the steering wheel on the back, door handle interior, cup holder area, air vents, etc. You can use a quick detailer to wipe off any dust/ debris.
Then you get a clean car. Not perfect by any means.
-Hope you may have picked up something. This may not seem "casual" for some, but honestly, it is casual. Full, professional details MUST include machines to get that absolute perfect paint finish. Also, these guys will use products that they've worked with for years from personal experience. This detail I wrote will get you a VERY clean car, just not absolute perfection you will get from using machines from a professional detailer. I have a porter cable in my garage but I don't bother using it on my car because it is white. I used occasionally on my previous black car. Learn well before you use machines. (Although most of them are very user friendly).
-Lastly, I noticed I wasn't putting everything in the best order when it comes to steps.
Last edited: