spiker369
on air, don't care
Decided to wait until the final product before making a thread but here it goes!
At EuroTripper 3 in February 2015 I picked up a set of BBS LM’s from my buddy Bryan (Carbon13GTI). He had plans to do a full polish on the wheels but sold them to me before he was able to so I figured I’d make that my project for the next year. My over all goal was to have the wheels done by the time EuroTripper 4 was rolling around so I managed to finish a few months early! I originally wrote this up in November 2015 but didn't want to post anything online until EuroTripper 4 passed this past weekend.
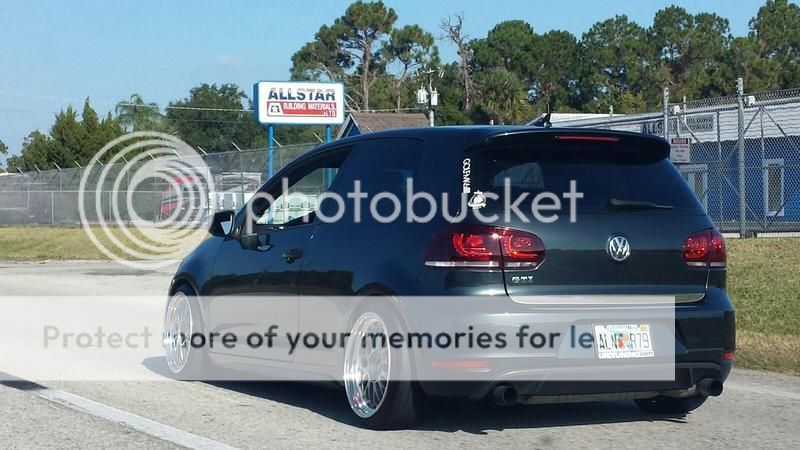
Here are photos when the wheels were on his GTI. You can see some damage to the face of the wheel in the close up shot.

Did everything by hand, I don’t have any specialty tools and don’t have the funds to ship the wheels out to be professionally refinished so quite a few packs of sandpaper, and many hours, the wheels are finished. These are the first set of wheels I’ve refinished, and my first set of multi piece wheels.
Specs are 17x8/9 ET20 (reverse mounted faces) 5x114.3 with wobble bolts.
The day I got the wheels home I started splitting them apart. Within 20 days I had the first face polished up, however once I stood back and took pictures of it, I was able to tell there were still some very deep scratch marks from sanding so I had to go back and resand that one. I started from 220 and went up to 2000.


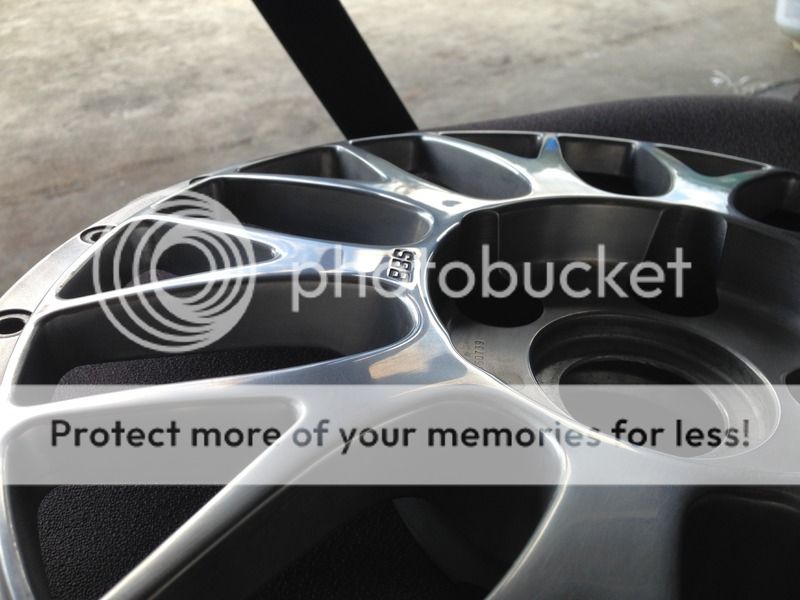
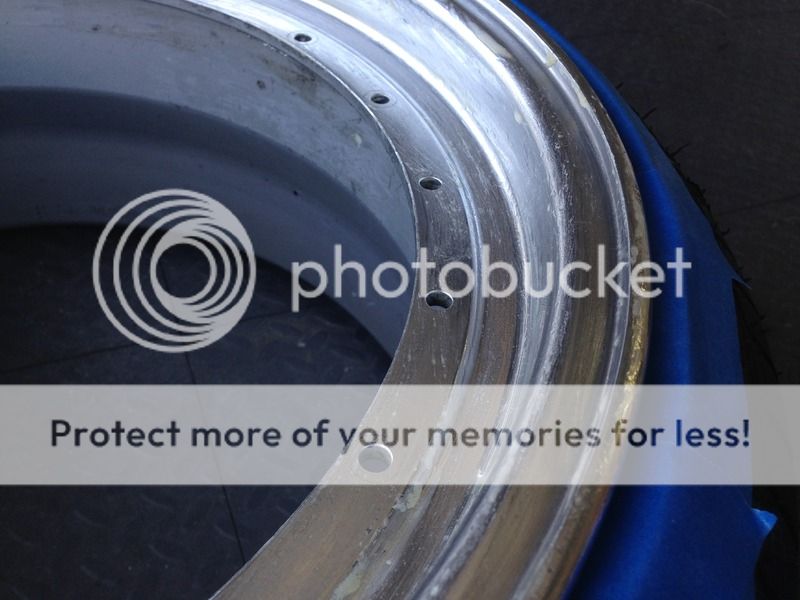
The wheels have had at least two previous owners from my knowledge so they aren’t perfect to start with. Sanding down through the pitted texture of the BBS original grey and the machined markings on the lips look some time. There were also some dings on the faces from them being bolted to cars which I had to file down and then smooth out.


Cleaned up all the bolts since I have to reuse them. Wire brush to remove the old locktite and diet coke bath to break down any other gunk. I also polished up the center caps to get a consistent shine across them.
Doing the sanding by hand made getting into the windows a little challenging so I opted to paint the insides black. I haven’t seen this done with polished faces on LM’s so I thought I’d give it a shot. I did this with black plastidip, and since having them finished and having to go back and re-polish the faces, I might eventually use actual wheel paint or find someone to power them.


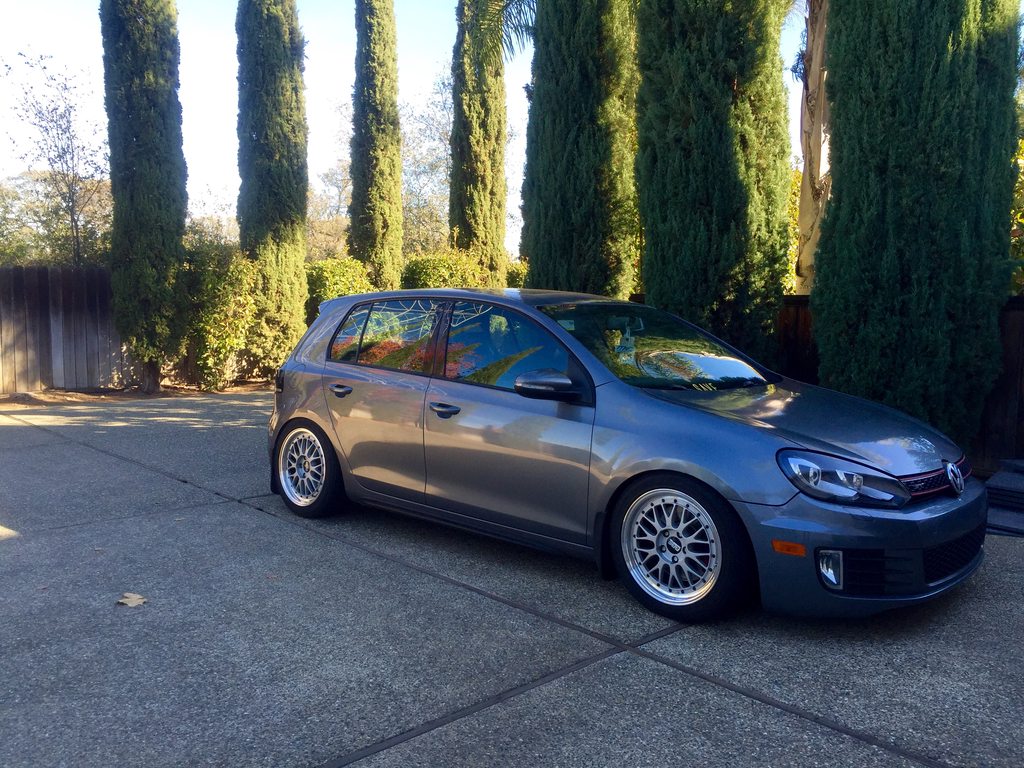
Pre camber fitment lol

Here are some shots when I was contemplating the rear fitment. More poke is with the faces reverse mounted. Ultimately I went with that option because I wanted the deeper lip, and sanding down the top of the lip was much easier than sanding the top edge of the face.


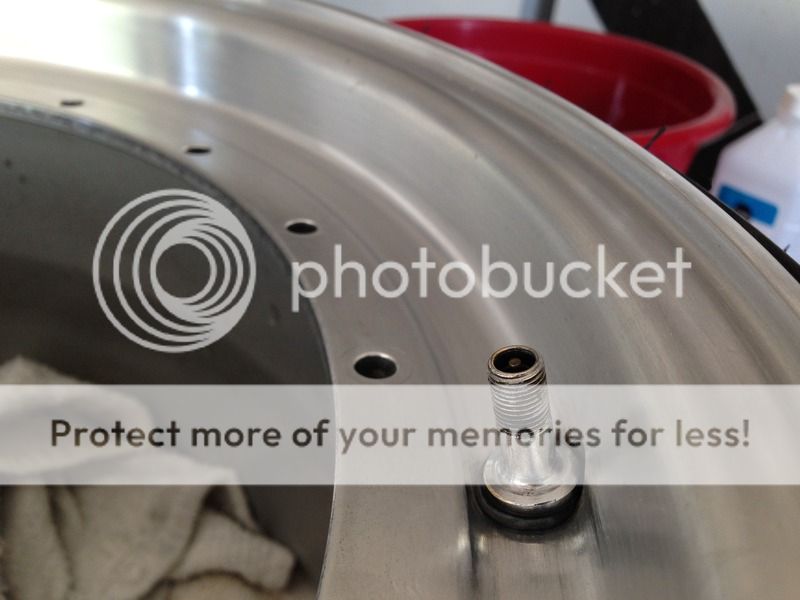
The only thing left to do now is buy valve stem caps because one was missing when I bought the wheels. Over all though I am extremely happy with how this project turned out!
Now for the finished photos.. :laugh: For polish I only used what was readily available at walmart—Mother's Polish. I would like to invest in some better metal polishes, heard good things about Adams, but I would love to get recommendations here!
 20160106_9655_BBSLM by Kyle Anderson, on Flickr
 20160106_9657_BBSLM by Kyle Anderson, on Flickr
 20160106_9664_BBSLM by Kyle Anderson, on Flickr
 20160106_9665_BBSLM by Kyle Anderson, on Flickr
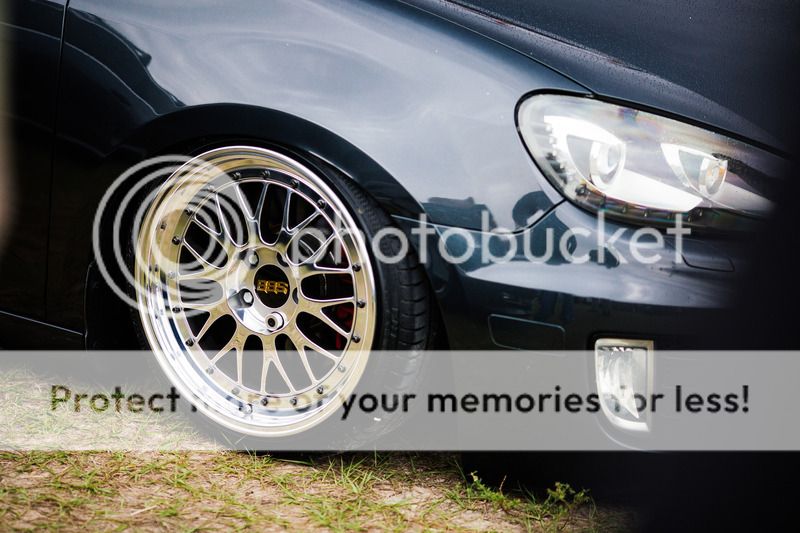
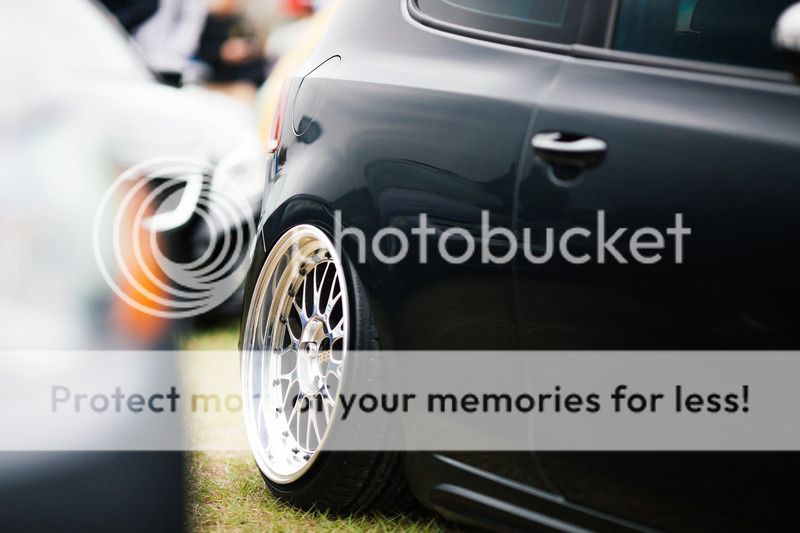
And here are two shots from EuroTripper 4, shots from photographer Donato Dell'Api, follow him on instagram @donatodellapi; http://donatodellapi.com
Any comments or feedback is welcomed! I had a great time doing this project.
At EuroTripper 3 in February 2015 I picked up a set of BBS LM’s from my buddy Bryan (Carbon13GTI). He had plans to do a full polish on the wheels but sold them to me before he was able to so I figured I’d make that my project for the next year. My over all goal was to have the wheels done by the time EuroTripper 4 was rolling around so I managed to finish a few months early! I originally wrote this up in November 2015 but didn't want to post anything online until EuroTripper 4 passed this past weekend.
Here are photos when the wheels were on his GTI. You can see some damage to the face of the wheel in the close up shot.
Did everything by hand, I don’t have any specialty tools and don’t have the funds to ship the wheels out to be professionally refinished so quite a few packs of sandpaper, and many hours, the wheels are finished. These are the first set of wheels I’ve refinished, and my first set of multi piece wheels.
Specs are 17x8/9 ET20 (reverse mounted faces) 5x114.3 with wobble bolts.
The day I got the wheels home I started splitting them apart. Within 20 days I had the first face polished up, however once I stood back and took pictures of it, I was able to tell there were still some very deep scratch marks from sanding so I had to go back and resand that one. I started from 220 and went up to 2000.
The wheels have had at least two previous owners from my knowledge so they aren’t perfect to start with. Sanding down through the pitted texture of the BBS original grey and the machined markings on the lips look some time. There were also some dings on the faces from them being bolted to cars which I had to file down and then smooth out.
Cleaned up all the bolts since I have to reuse them. Wire brush to remove the old locktite and diet coke bath to break down any other gunk. I also polished up the center caps to get a consistent shine across them.
Doing the sanding by hand made getting into the windows a little challenging so I opted to paint the insides black. I haven’t seen this done with polished faces on LM’s so I thought I’d give it a shot. I did this with black plastidip, and since having them finished and having to go back and re-polish the faces, I might eventually use actual wheel paint or find someone to power them.
Pre camber fitment lol
Here are some shots when I was contemplating the rear fitment. More poke is with the faces reverse mounted. Ultimately I went with that option because I wanted the deeper lip, and sanding down the top of the lip was much easier than sanding the top edge of the face.
The only thing left to do now is buy valve stem caps because one was missing when I bought the wheels. Over all though I am extremely happy with how this project turned out!
Now for the finished photos.. :laugh: For polish I only used what was readily available at walmart—Mother's Polish. I would like to invest in some better metal polishes, heard good things about Adams, but I would love to get recommendations here!
20160106_9655_BBSLM by Kyle Anderson, on Flickr
20160106_9657_BBSLM by Kyle Anderson, on Flickr
20160106_9664_BBSLM by Kyle Anderson, on Flickr
20160106_9665_BBSLM by Kyle Anderson, on FlickrAnd here are two shots from EuroTripper 4, shots from photographer Donato Dell'Api, follow him on instagram @donatodellapi; http://donatodellapi.com
Any comments or feedback is welcomed! I had a great time doing this project.