FYI: the mounting of the ballasts can be done many other ways; this is my personal preference.
I tested the mounting before completely installing the bulb by leaving the ballast in and driving around town for a day.
They survived.
Materials:
T25 Torx Screwdriver
Pliers
Zip Ties (4"/6"/12"; whichever suits you best)
Electrical Tape
Padded Double-Sided Tape
~3/8" Synthetic Padding
70% Isopryl Alcohol Swabs
Sufficient Lighting
Means of wedging the wheel well cover open
Common Sense!
Passenger side:
1. Turn your wheels to allow front space on the side you are working on.
2. Remove access panel and the four surrounding screws.
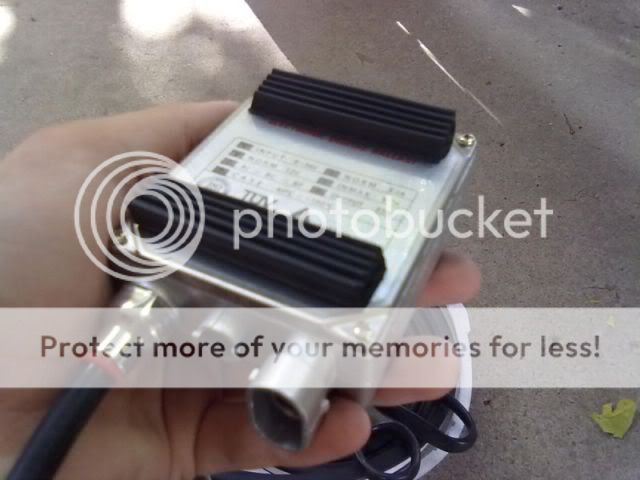
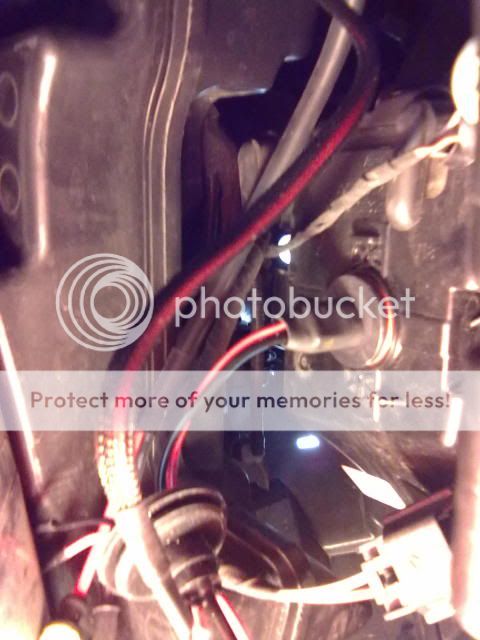
3. Measure fitment of ballast inside small compartment below headlight and above the metal tray pictured.
*
REMEMBER TO WIPE DOWN EVERY SURFACE, THAT ADHESIVE WILL BE APPLIED TO, WITH 70% ISOPRYL ALCOHOL SWABS*
Allow a minimum 30sec to dry. This cleans the surface of any dirt/dust and allows the adhesive to adhere better.
4. Place a strip of padded, double-sided tape on the underside of the ballast where it will be contacting the metal overhang you see in the white circle above. You should also put some on the underside, front corner (where it will be contacting another portion of that "tray"; remember the connected wires are going to be facing forward) in order to cushion the metal-to-metal contact. I put my strip of it on the metal tray itself.
UNDERSIDE:
TOPSIDE:
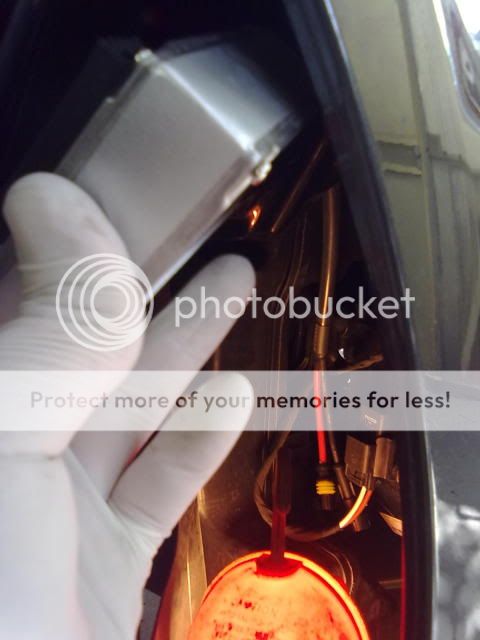
5. Begin fitting ballast inside small area, where the double-sided tape will contact the metal tab and the bottom, front corner of the ballast will be wedged against a groove on the tray that will also hold it from slipping forward. The padding on the top side helps to wedge it between the bottom of the headlight and metal tab, as well as provide cushion for movement associated with the vehicle itself.
Start with feeding the wires through to the front of the vehicle, allowing them to hang down towards the fog light housing.
Proceed with fitting the ballast inside the specified points.
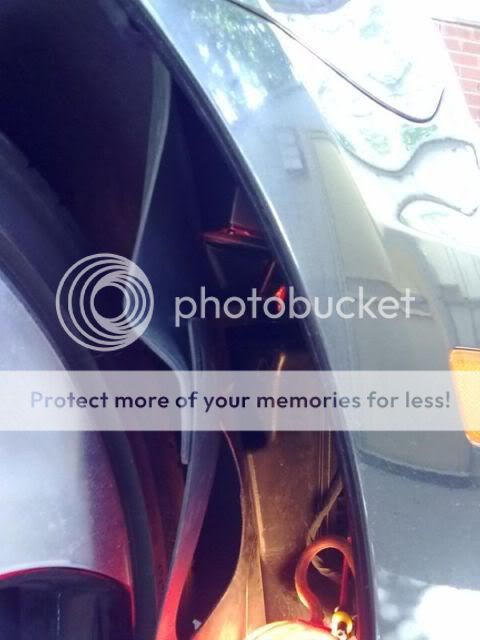
6. Make sure the ballast is seated correctly and allows very limited vertical and horizontal movement.
7. Feel for it and connect this piece to the ballast--apply equal pressure forward as you do backward (these pieces require quite a bit of pressure to connect because of the water-tight seal. Remember that this piece only connects one way--the black tabs that hangs over on the male side only fit on the outside-facing section of the female socket.
8. Carefully remove the outside film on the padded double-sided tape on underside of ballast; seat the ballast with downward pressure and allow it to take its natural position.
Make sure there is minimal room for movement.
9. Remove old bulb from socket, and from harness.
10. Install xenon bulb.
READ: You need to unscrew the plastic case, then there's a small white plastic washer that is between the orange seal and the clear plastic beneath the bulb. You need to
CAREFULLY remove the orange seal
WITHOUT TOUCHING THE BULB. The white plastic washer will come right out. Replace the orange seal.
Holding the bulb in a safe spot, you need to grab a set of pliers and break the bottom clear plastic portion that the top cylindrical plastic case screwed into.
It's important that you don't touch the bulb because the oils on your fingers are not exactly healthy for the components of the bulb.
IT'S JUST THE PLASTIC CYLINDRICAL CASES OUTLINED BY THE BLACK OVALS. DON'T WORRY.
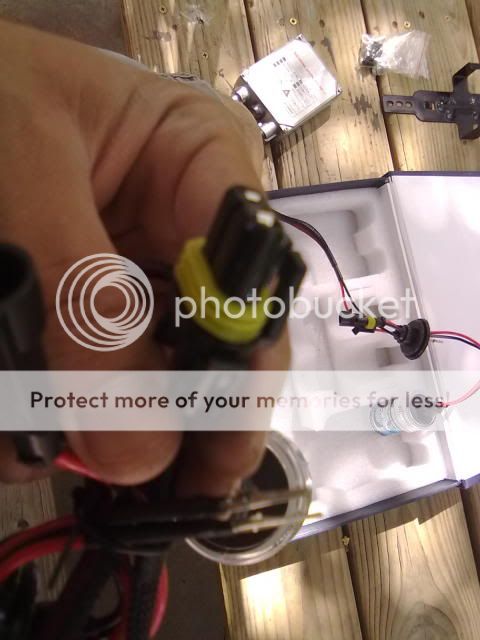
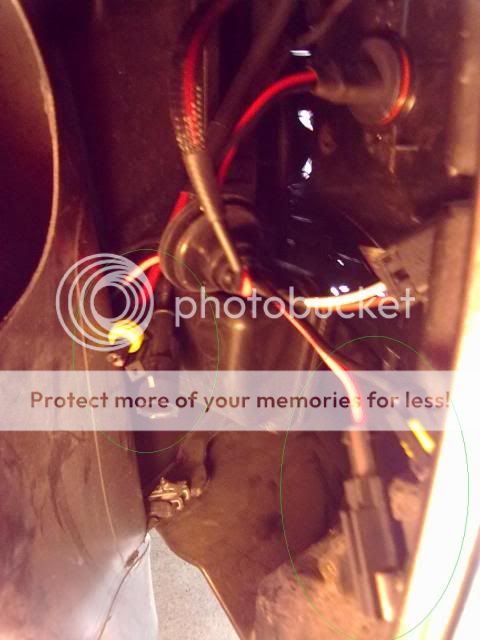
11. Connect the wires (the ones that come out of the ballast) to the portion coming from the xenon bulb. These are circled in green below.
The bare metal pieces will be dealt with in a few minutes.
THE FOLLOWING PICTURE DEMONSTRATES STEPS 11 THROUGH 13.
12. You need to connect the bare metal pieces directly to the factory harness attached to the vehicle.
Black goes with Brown.
Red goes with White.
Simply slip the pieces in the slots on the harness.
Cleanly wrap the metal pieces up with electrical tape.
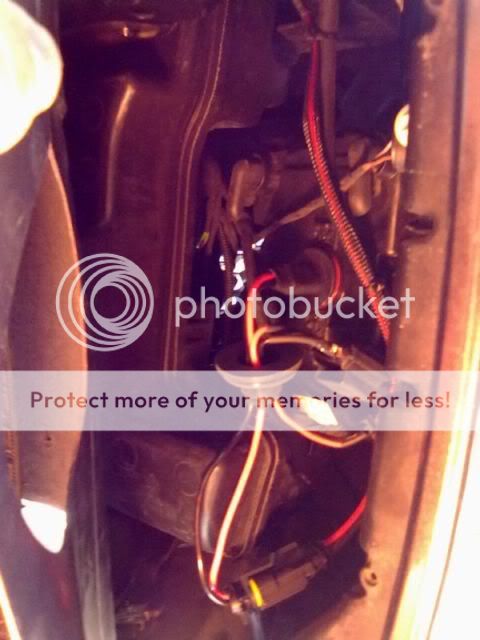
13. Double-check connections and seating of the xenon bulb.
Use zip ties and other means of your choice to secure the wiring and extra slack to prevent too much movement.
Make it look clean
")
If you might need to remove your bumper in the future (for an aftermarket intercooler), keep in mind your mounting location for the wires and provide a safe, quick disconnect system.
14. Replace all parts, including wheel well liner, screws, and access panel.
Move on to the other side.
Driver's Side:
*EVERYTHING WILL BE THE SAME EXCEPT THE MOUNTING LOCATION*
The tab that the passenger side ballast was mounted on [with double-sided tape] isn't present on the driver's side.
15. Mount the driver side ballast using your means.
I padded all points of the ballast that will contact metal/plastic using the same synthetic pieces and zip-tied it down where it was wedged against the outside edge of the car, the headlight, and the bottom area of the tray.
Make sure the ballast clears the wheel well liner.
It looks messy using two zip ties, but it's for practicality. Using only one didn't secure it to my standards (I have high standards btw).
Follow the same steps as you did for the passenger side. Clean up with zip ties and enjoy!