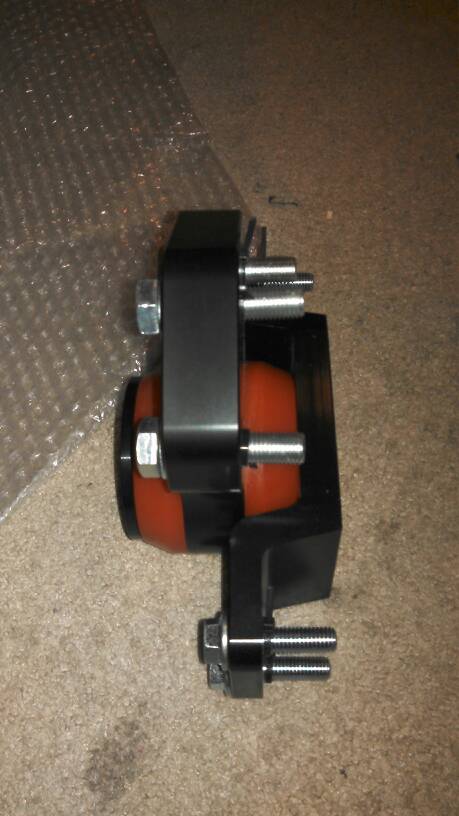
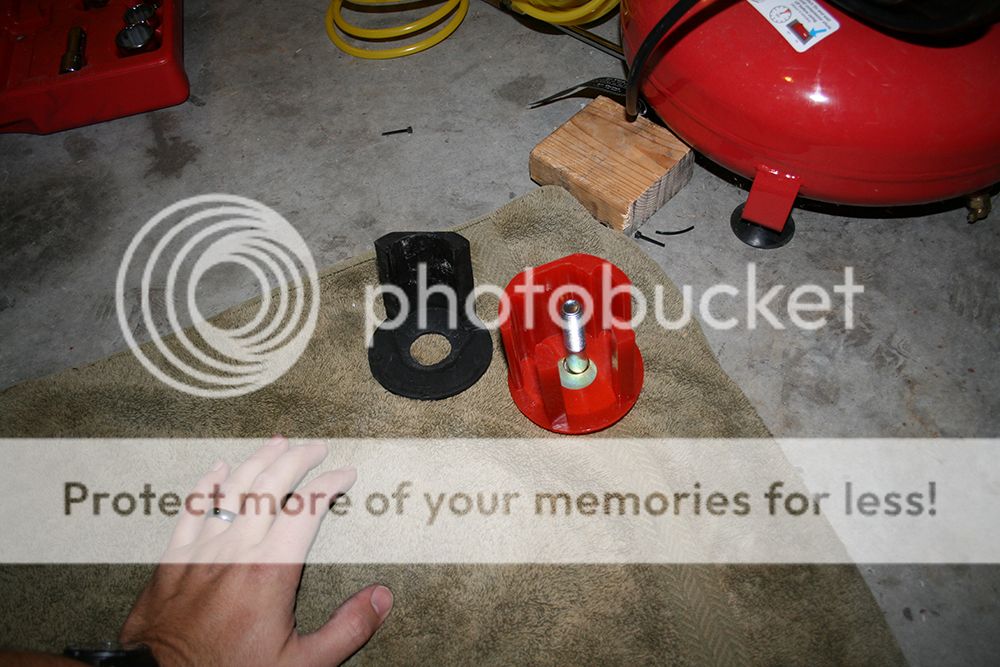
I started with the passenger side, as there were less things to remove to get to the mount itself.
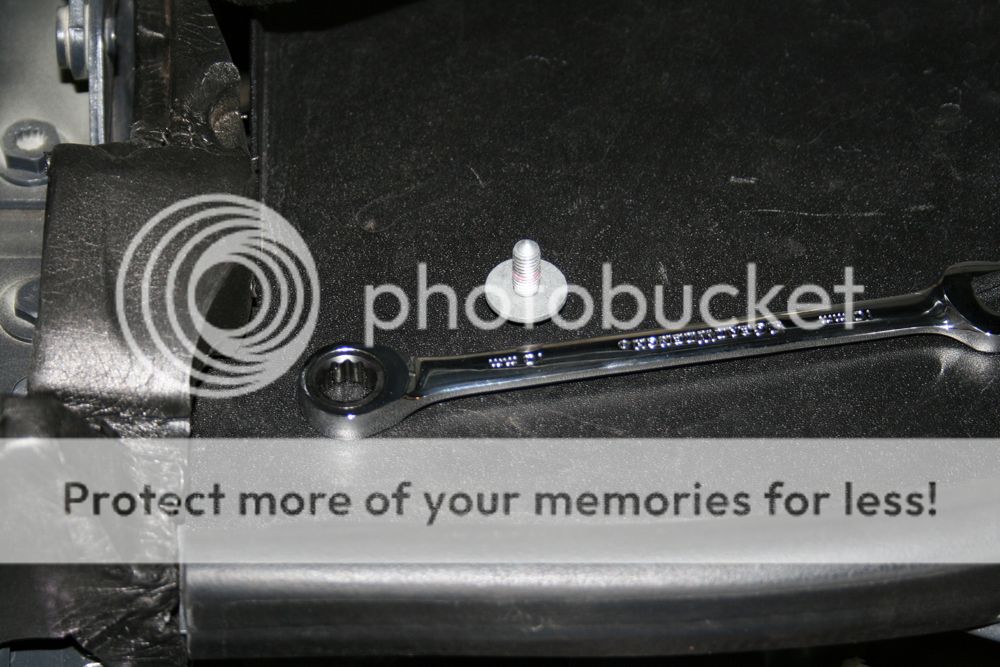
1.Remove 10 mm bolt from washer fluid fill neck
2.Remove top section of washer fill neck.
a.This pops out. Rotate back and forth and pull…it will pop out.
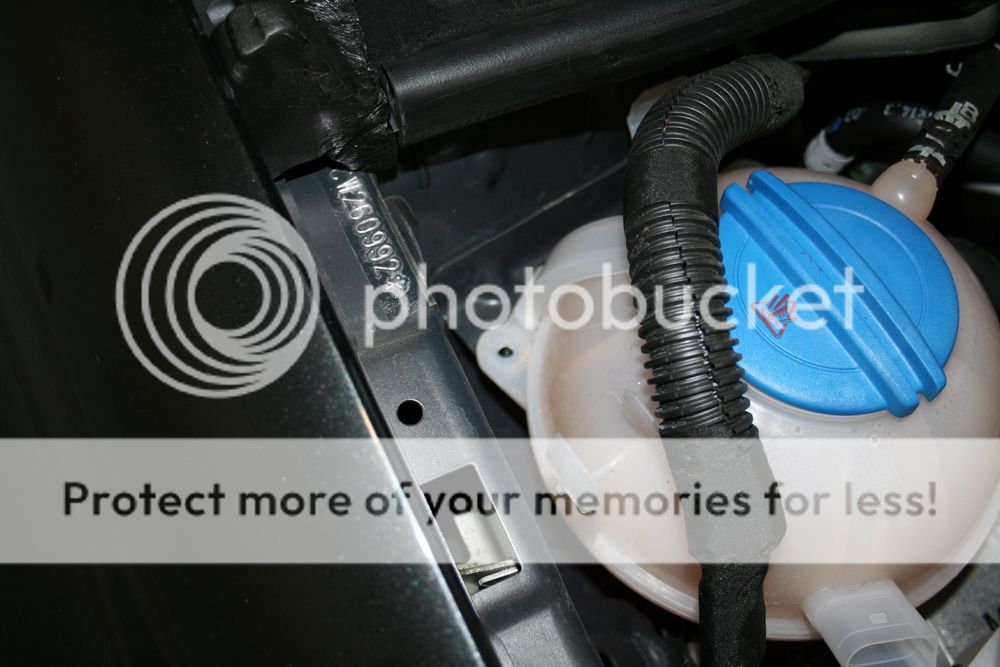
3.Remove coolant level sensor (push in towards bottle and press clip…pull off)
a.Be gentle, these clips can break
4.Remove the bracket from the mount to the frame of the car. 2 x 13mm bolts
5.Remove the 2 T25 torx head screws from firewall holding coolant reservoir on
a.Wiggle the coolant tank around to get it free of tabs and remove the wire loom
b.You can bend the hoses up to the right with the bottle attached, this will give you better access to the mount bolts.
6.Before removing the mount bolts, place a jack under the car, utilizing the oil pan as support for the motor. DO NOT PUT TOO MUCH UPWARD FORCE ON THE PAN, IT WILL DENT. (Didn’t do this, but just a warning)
a.Use a block of wood between the jack and the pan to provide a buffer.
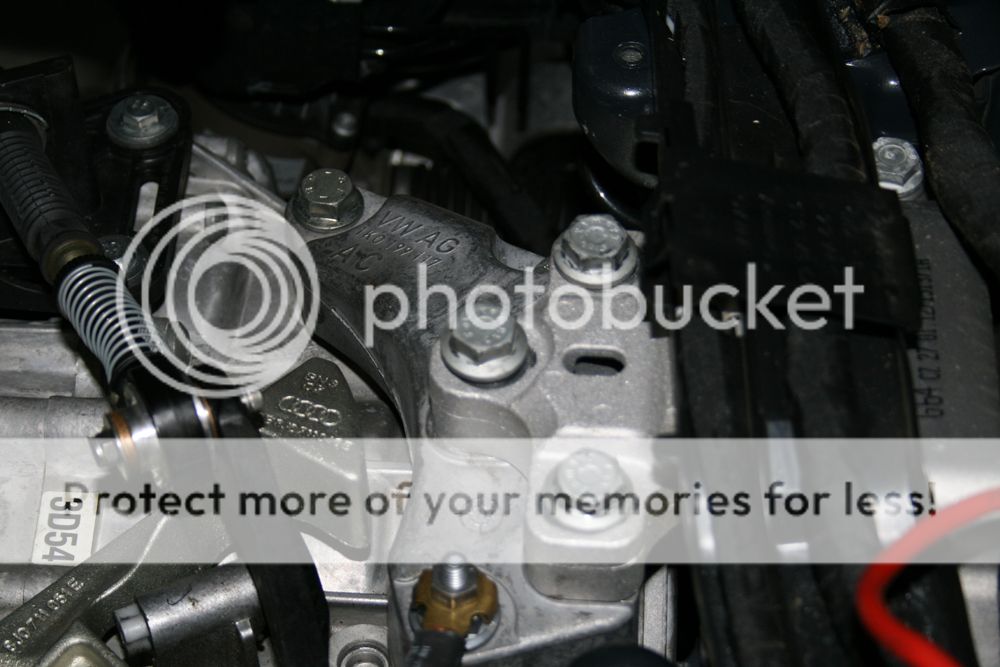
7.Remove bolts from engine to mount 2 x 18mm.
a.These were on the car very tight. I used the extension from my jack to be a breaker bar on my wrench. Came right off.
b.You will have to wiggle the hoses out of the way (there is room there, but only just)
8.Remove bolts from mount to frame 2x 16mm.
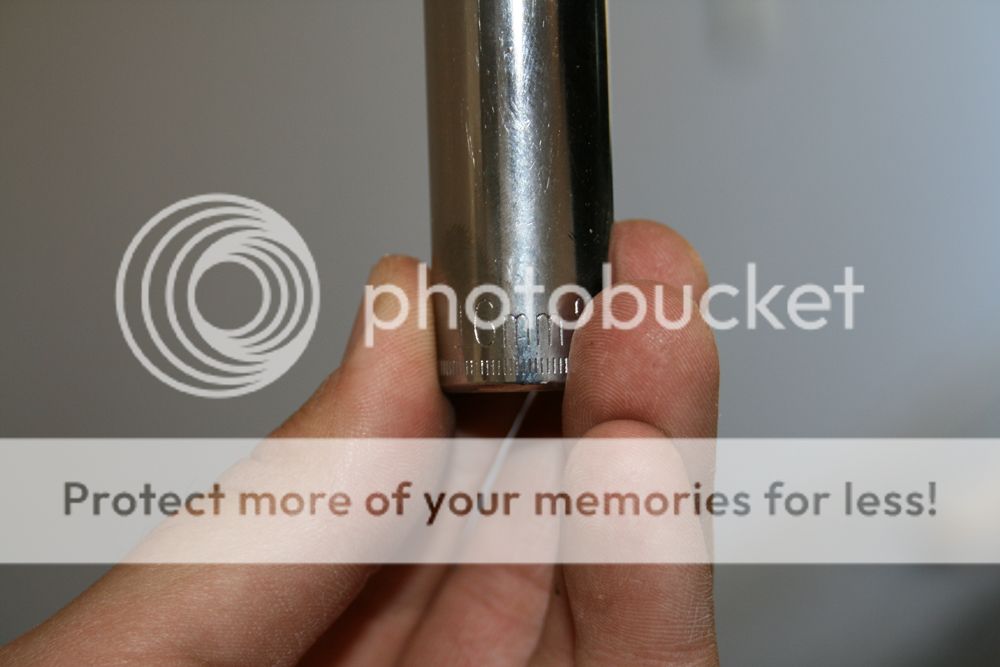
a. I used a deep well socket for extra reach, and because one of the bolts has a funny thread on one end…regular would not fit.
9.Remove mount from car
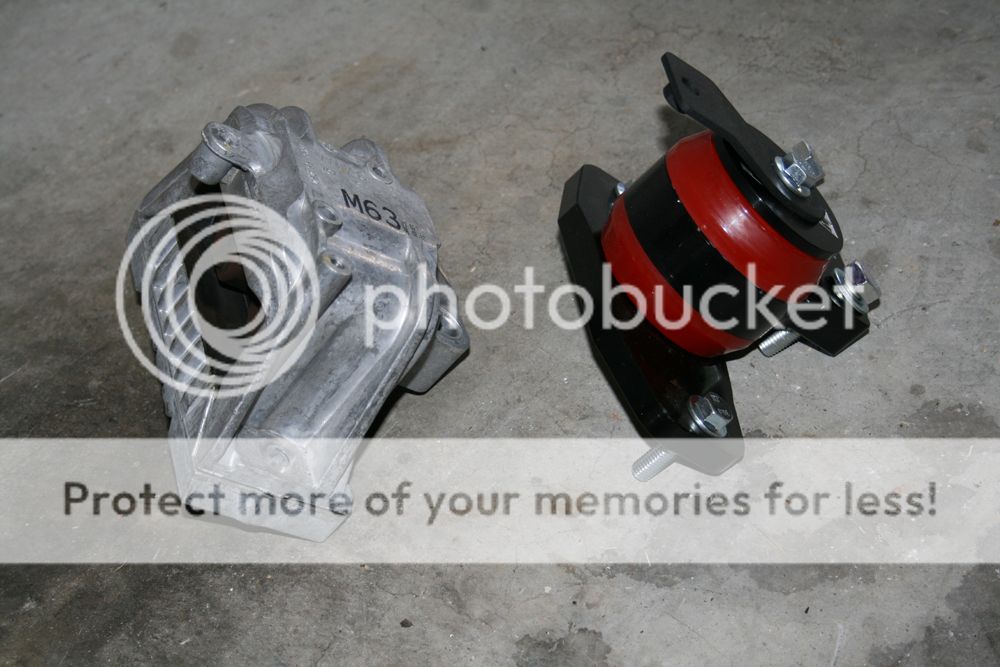
10.THIS IS IMPORTANT!!!! Make sure you have the FLAT edge towards the wheel well. IF NOT IT WILL NOT FIT!!!
a.I struggled and struggled to get bolt holes lined up...to no avail. Took mount out and turned it around, and it fit 1st time.
11.Bolt the mount to the frame of the car then to the motor. This gives you a solid working base from which you can line your motor side up to the mount
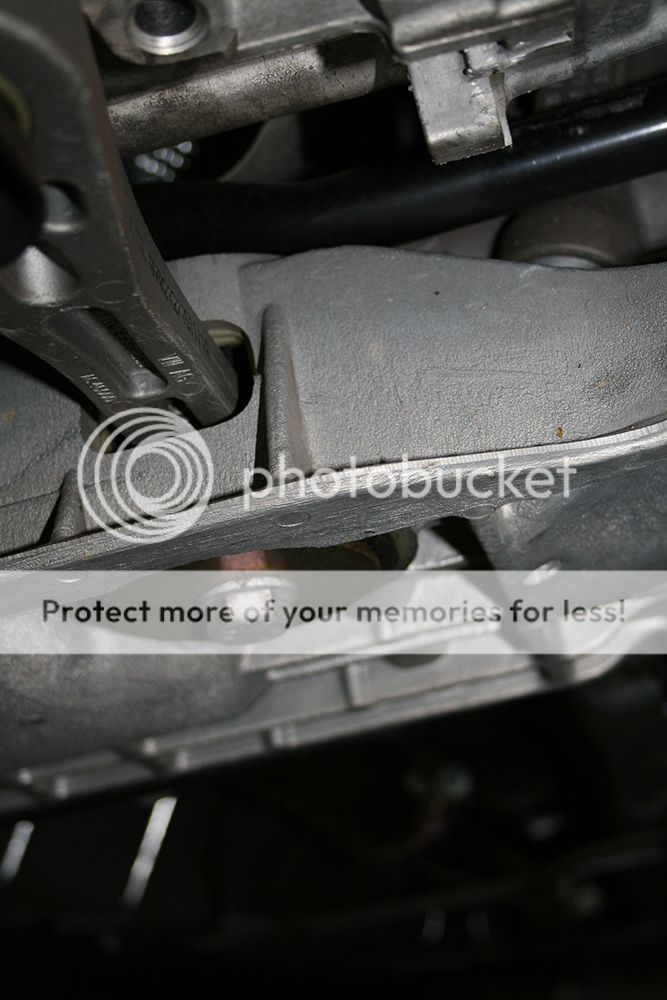
a.IF you have it, use an inspection mirror to make sure everything is lining up right on the underside of the mount. This should be very simple to see, as the mount has a ridge to fit into the motor side groove.
b.After getting everything hand tight, begin your torque process
12.TORQUE SPECS
a.MOUNT TO BODY 30ft-lbs.
b.MOUNT TO MOTOR 44ft-lbs
c.TOP BOLT 30ft-lbs
13.Install bracket for washer neck back to body and mount. 2x13mm bolts
14.Reinstall coolant reservoir
15.Reinstall washer filler neck and bolt to bracket 1 x 10mm
16.Finished with Passenger side.
DRIVER SIDE
1.Remove your intake (I have a Carbonio, so this process was a breeze).
2.Battery removal.
a.Several steps. Remove top plastic cover,
b.Remove front cover (this snaps into the front with two tabs. Push in and pull straight up.
c.Remove battery clamp (1x13mm)
d.Disconnect battery from POS and NEG. should be a 10mm nut
e.Remove battery from the car (its heavy, so man up)
f.Remove battery underside tray (3 x 10mm)
g.Remove motor ground from frame (13mm deep well) DO NOT DROP THIS NUT…it’s a pain to get out from the underbody tray
3.Support the transmission from under the car with a jack again
a.Use the actual transmission for this. Remember your block of wood.
4.Remove 3x18mm bolts from trans mount to trans (don’t know how tight these would be on your car….i had my trans out for clutch replacement a while back…they weren’t too difficult to get out this time)
a.You will have to adjust the jack a bit to make sure nothing is binding while removing the bolts. Use your own judgement
5.Next, unsnap the cable tray holding your wires from the OEM mount.
a.Front and back of the mount. Pull up and see where it was holding and pull straight up.
b.IF you removed the motor ground from the car, this will be able to move back and forth to allow you access to the bolts
6.Remove the 4x16mmbolts from the trans mount to body
a. Remove OEM mount
7.Install the SPM mount. The mount is physically smaller than the OEM one, so getting it back into the spot is quite a bit easier than getting the OEM one out.
a.Line up your holes and install the mount. Hand tighten the bolts first, then come back and torque them
\
8.Install 3x18mm bolts from mount to trans.
a.This may require you to move the trans back and forth a bit to line up the holes.
b.Once you get one started the others are very easy
c.Hand tighten the bolts
9.TORQUE SPECS
a.
MOUNT TO BODY 30ft-lbs
b.MOUNT TO TRANS 44ft-lbs
10.Reinstall the motor ground to frame 1x 13mm nut
11.Snap the cable tray back into the OEM slots
a.Reinstall the battery tray 3X10mm bolts
b.Reinstall battery 1x13 bolt
c.Reinstall battery cover
d.Reconnect battery to cables
12.Reinstall intake OEM or aftermarket
a.Don’t forget your MAF sensor
13.Check for any loose tools and assorted equipment
14.Crank ‘er up!
15.Your TPMS ESC and a few others will be on for just a bit, drive around the block and they will go away.
That’s it for now. Ill post up the Pendulum mount install when mine gets back in.
UPDATE!!!
Here is the quick run down of the pendulum mount install..
Remove 3 bolts. 2 on the pendulum arm and 1 on the "hockey puck"
Before removal
After Removal
Motor side is 2 x 16mm bolts and the "hockey puck" side is a 22mm Bolt
This is compared to my Energy suspension insert
YOU MUST USE A HUGE AMOUNT OF Anti seize or some sort of lubricant to get this thing in. IT IS VERY VERY TIGHT, it will go in, you just have to work it in there.
OEM vs SPM
When installing the new Pendulum mount you MUST HAVE 8MM ALLEN ratchet accessory.
Torque these to 30-lbft
"Hockey Puck" is torqued to 74-lbft.
Final work.


