HeloHarmonics
Ready to race!
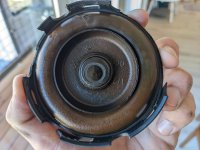
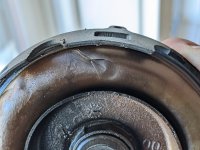
Decided to replace the diaphragm in my PCV valve for preventative reasons and it looks like it was already torn so glad I did it. Replaced it with the RKX "upgraded" diaphragm and it was really easy aside from getting the cap off the PCV.
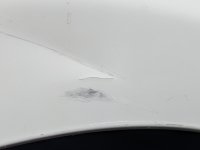
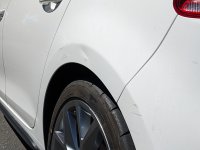
Also someone hit my car while parked, but at least they took responsibility and left a note, oh wait... no they didn't. Left a crack in my paint. Still deciding what to do about it. What would you guys do?
Also someone hit my car while parked, but at least they took responsibility and left a note, oh wait... no they didn't. Left a crack in my paint.
Still deciding what to do about it. What would you guys do?Attachments
-
 PXL_20220701_173910486.jpg2.4 MB · Views: 44
 -
 PXL_20220701_173919146.MP.jpg3.5 MB · Views: 38
 -
 PXL_20220701_181230717.jpg1,006 KB · Views: 37
 -
 PXL_20220701_181259387.MP.jpg3 MB · Views: 37


 :
: