GOLFMK8
GOLFMK7
GOLFMK6
GOLFMKV

Sean's Shadow Blue GTI

smanierre

Autocross Champion
Parts came in from FCP today so I got to work.
Good news:
Pistons and rods are assembled, getting the circlips that retain the wrist pins in is a bitch, but they're in now


Bad news:
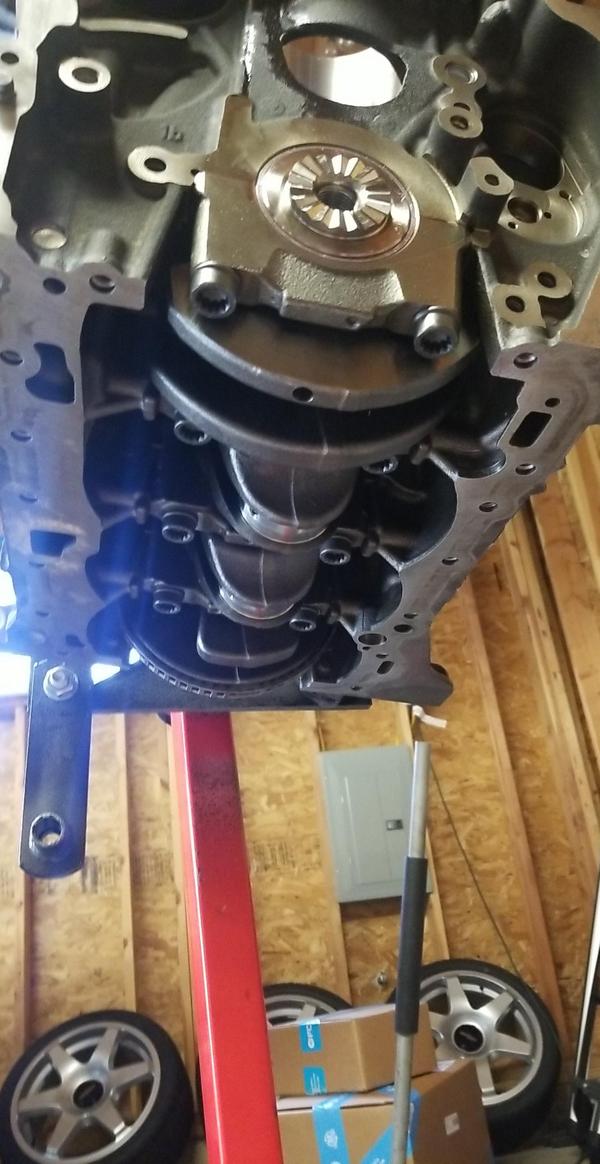
Crank is in an bolts are all torqued. Those extra 90 degrees had me scared on each one. The bad part is I realized I installed the thrust washers backwards so now the crank has to come out and I need new bolts, they're already on order from VW though and should be here on tuesday. I still gotta look up how to get all the piston rings on correctly but once I do that and the new bolts come in the rods/pistons should be following shortly after, and then hopefully the rest of the motor shortly after

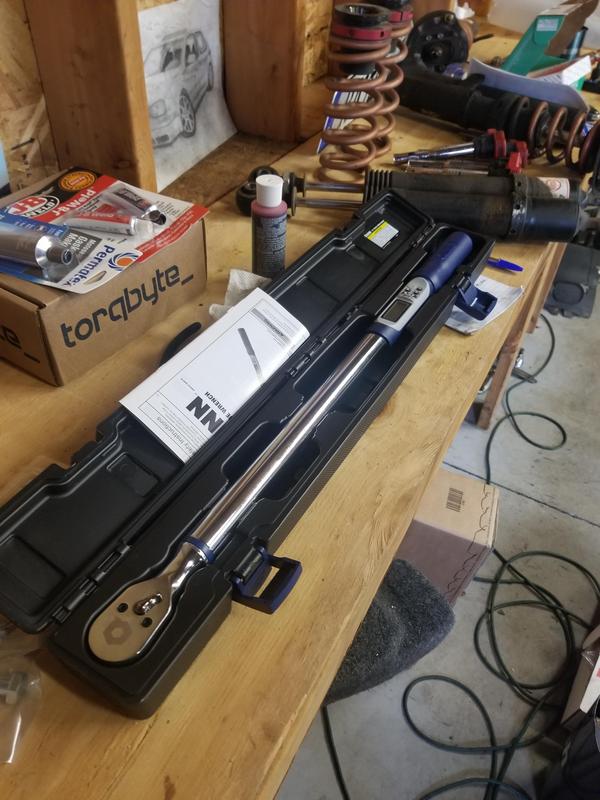
Bonus: Didn't trust my old torque wrench to be accurate since i've beat the shit out of it for the past 3 years so I picked up this new fancy digital one that even measures angles like 65nm + 90degrees
 

smanierre

Autocross Champion
More good news and bad news.
Good news: I got the crank back in and didn't forget anything this time.


Bad news:
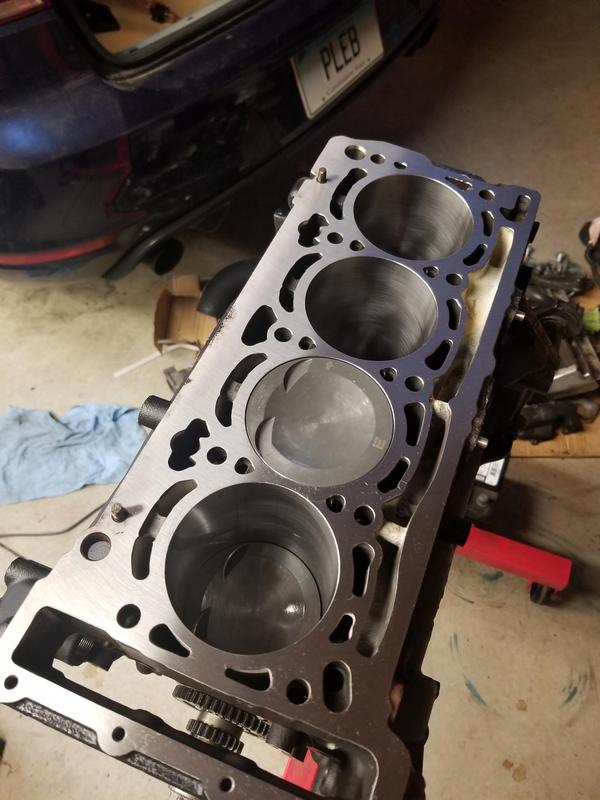
I got 2 of the pistons in, then woke up in the middle of the night thinking I put the pistons in backwards. After some checking I did so those two need to come back out and get spun around. The ring compressor I got is dog shit so I have to do them by hand which is a pain in the ass. Oh well, hopefully i'll have all those in today and then maybe even get the head on.
 

smanierre

Autocross Champion
Got the two pistons reversed to be facing the correct way now and got the other two in as well. Also put in the studs for my ARP headstud kit. Hopefully getting the head on tomorrow and then the oil pan early next week. I also sent a message to YCW about getting my suspension rebuilt but I found out they dont have facilities in the US for it so depending on shipping it may be cheaper to just buy new. I asked in a racing group on FB and got some recommendations of brands i've never heard of like Ceika and Pedders. Anyone heard of these and have any feedback? Looking for a track oriented set, don't care about comfort or how low they go. Once I get those in and the engine it's off to get the manifold made.
 

smanierre

Autocross Champion
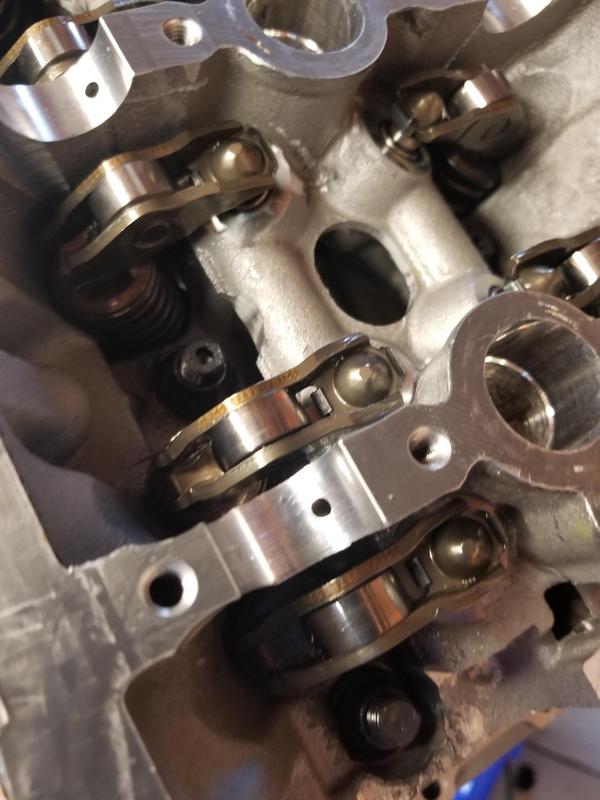
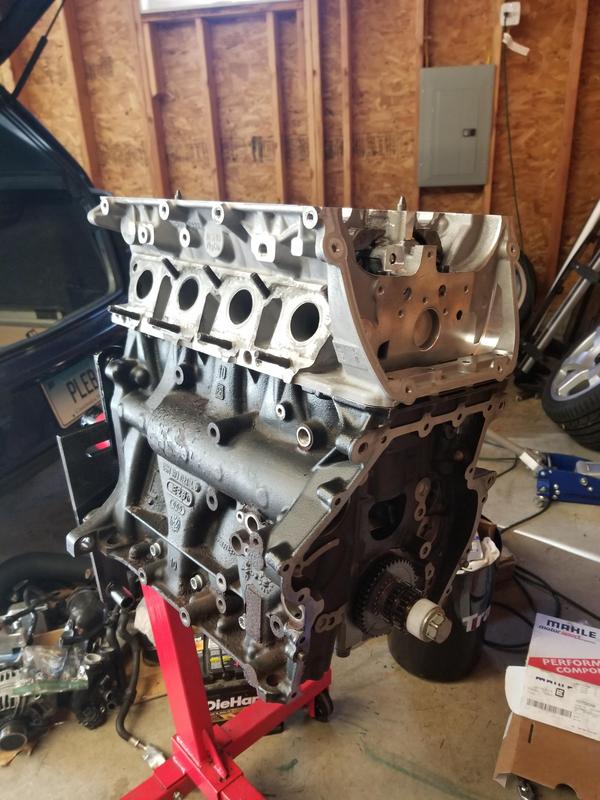
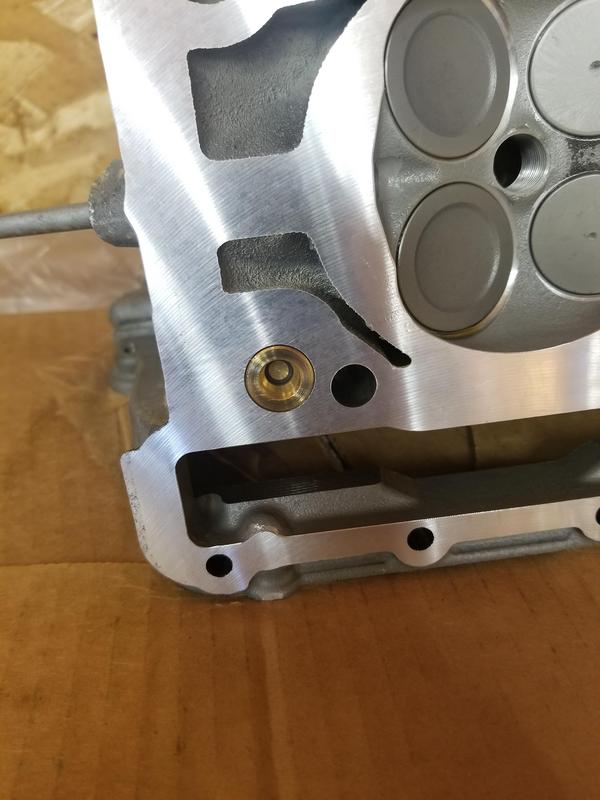
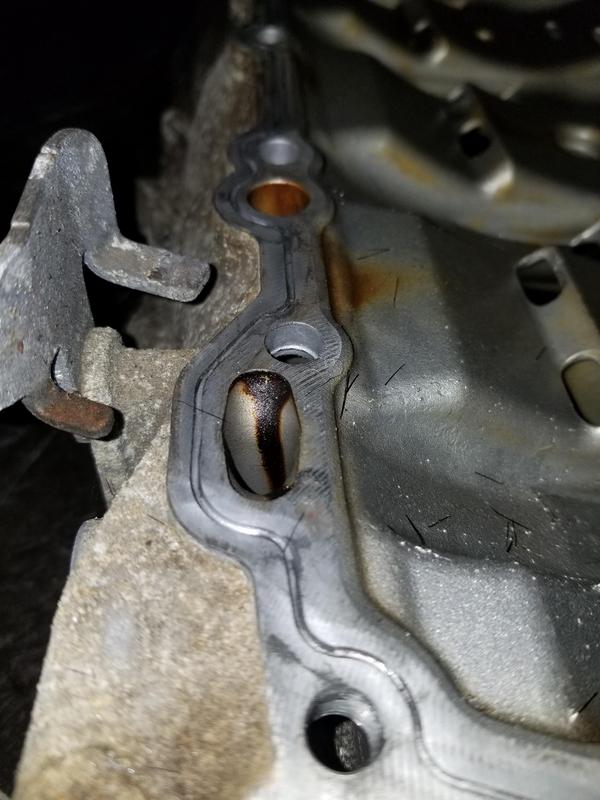
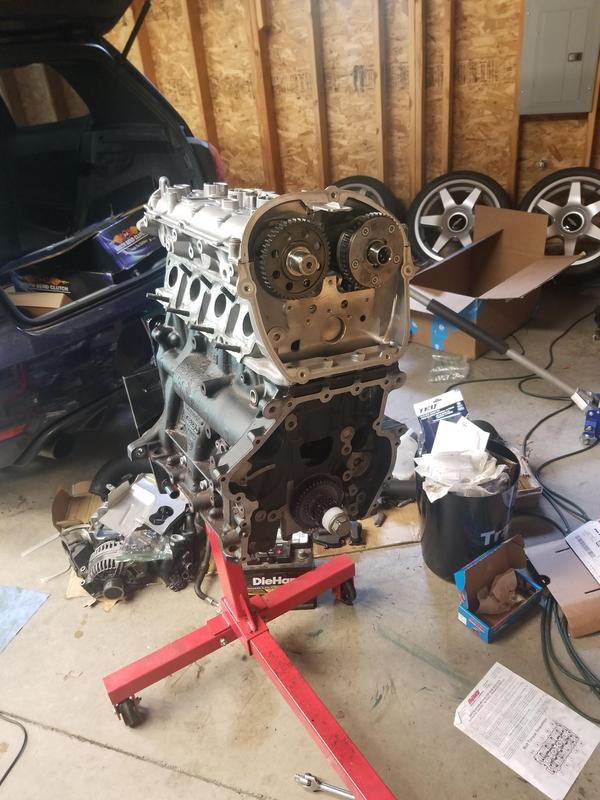
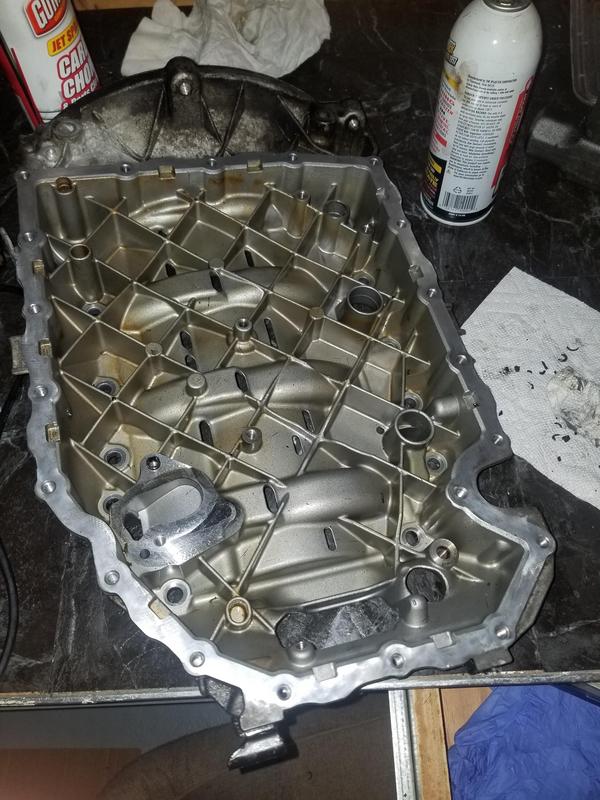
⚠Important Alert⚠ It appears my head game is strong af. That's right folks, the head is on. Everything went super smooth with it besides needing to run out to get a socket to tighten the nuts from the ARP kit. The shop cleaned up the head nice and I replaced the oil check valve as apparently they can fail, and it's cheap. I need to figure out what sealant to use for the valve cover but once I get that the cams will go in and the cover will go on. Going to do this first before the oil pan because 1. If I flip the engine now the lifters/rockers will fall out and i'm too lazy to take them out and organize them and 2. I have to scrape all the gasket out of the upper oil pan section which is gonna take a little time (pictures below). Once the valve cover is on though i'll flip it, get the oil pans (upper and lower) on, then time it up and seal up the lower timing cover. Will be all ready for the manifold at that point. Also my neighbor said his son has an engine crane so hopefully I can use that to join the engine and trans first, then put it in the car as once piece which will be much easier. Picture time

This small gasket is a pain in the ass to remove. Took me like 10 minutes to get an inch of it out.

ARP Head studs cranked down

Getting so, so close

More head please

New oil check valve, make sure to remember to lube the o-ring, i prefer spitting on it and calling it dirty words

Machine shop cleaned her up nice
 

Roadrunner_GTI

Drag Racing Champion
Coming along nicely. Couple questions:
What pistons are you running? Stock diameter or oversized?
Was the block just honed or bored as well?
Did you have a valve job performed on the head or just resurfaced? Did you check clearance on the valve guides?
Find any issues with the balance shafts?
 

smanierre

Autocross Champion
83mm IE/Mahle pistons. Block was bored out and decked. They shop said they did a valve job on it and all the valve guides were replaced, I'm assuming the clearances we're checked. I read once the shafts are removed they need to be replaced so I have some new ones ready to go in, nothing seemed off about the old ones though
 

Roadrunner_GTI

Drag Racing Champion
83mm IE/Mahle pistons. Block was bored out and decked. They shop said they did a valve job on it and all the valve guides were replaced, I'm assuming the clearances we're checked. I read once the shafts are removed they need to be replaced so I have some new ones ready to go in, nothing seemed off about the old ones though
In my experience the valve guides (especially on the exhaust side) need to be replaced. Sounds like you’re on top of it. Good to know about the balance shafts. 👍
 

smanierre

Autocross Champion
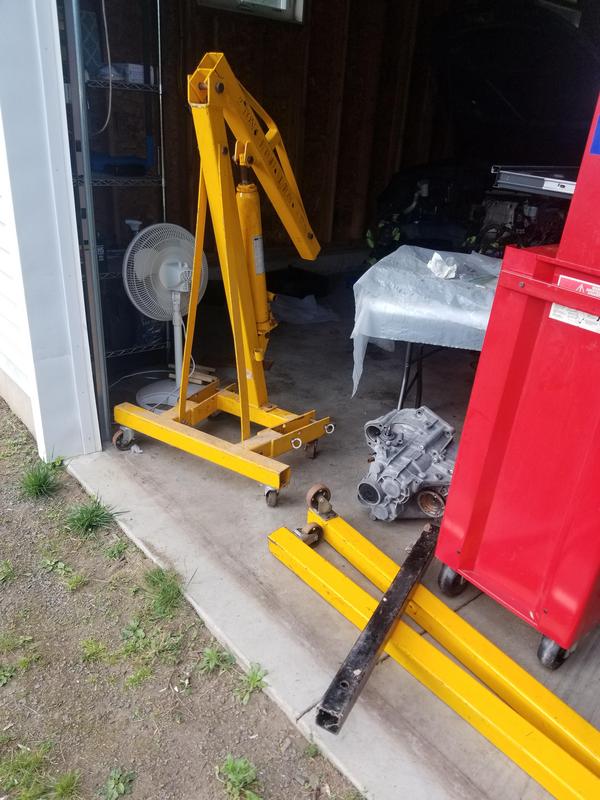
Got home to my neighbor waiting for me with his engine crane so now I have that when i'm ready to get everything back in the car, definitely getting him a case of beer for that one.


Also went to get my cams in but realized I need to replace the valve cover bolts as they are TTY. I placed an order with fcp for those, upper oil pan bolts, lower oil pan bolts, and various gaskets and o-rings that all need to be replaced as the build goes on and those should be here on tuesday hopefully.

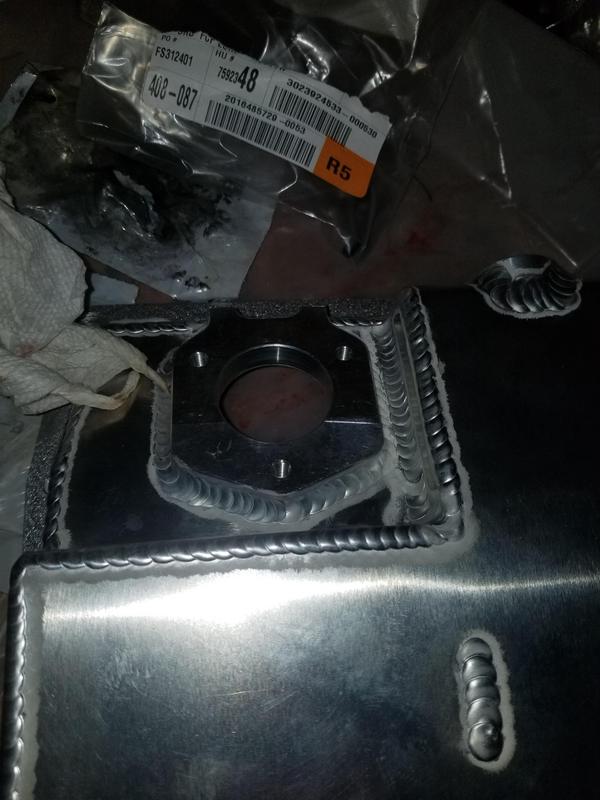
I installed to oil level sensor blockoff plate on the iAbed pan so it'll be ready to go in once it's time.


I got my clutch back from southbend after the rebuild which is a nice turnaround time. The pressure plate was red before vs this one being gray. Not sure if it's a different plate or not, I may call to verify with them and double check the disk to make sure the friction surfaces look the same as before as well


I also snapped this piece off the front clip when walking by one of the times. Looks like it wouldn't be easy to replace so i'll try first with using jb weld to get it back on there. Doesn't look like it bears too much load, just has a piece or two screw into it so i'm hopeful for the jb weld. Gonna clean it good with isopropyl first to try and get a good bond.
 

smanierre

Autocross Champion
Cleaned out the upper gasket channels on the upper oil pan. Used a small flathead to loosen everything up then used my dremel with plastic brushes to clean out the residue that was left and pretty happy with the result. now I need to clean off the lower side where the lower pan meets it and i'll be good to go. Also need to wash it off with a hose after to get all the bristles out that broke off. Or I could leave them in so they clean my block as it runs 🤷‍♂️


smanierre

Autocross Champion
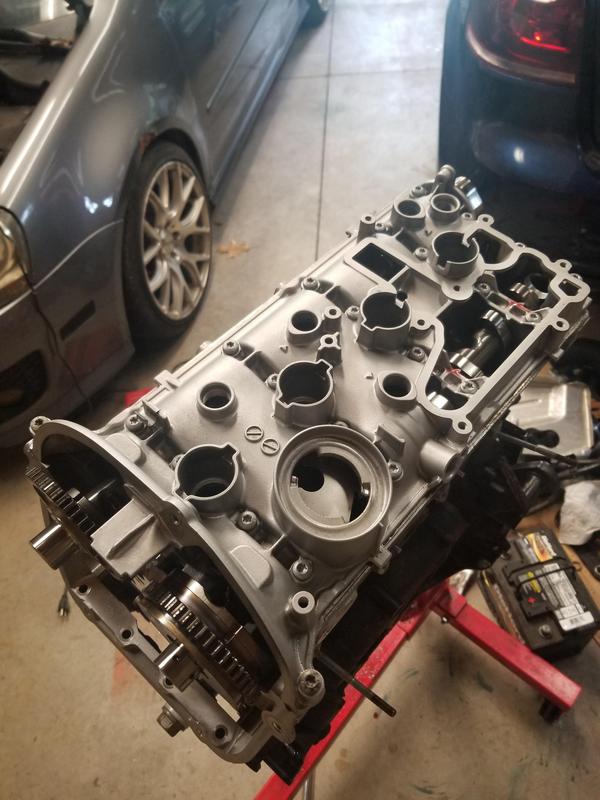
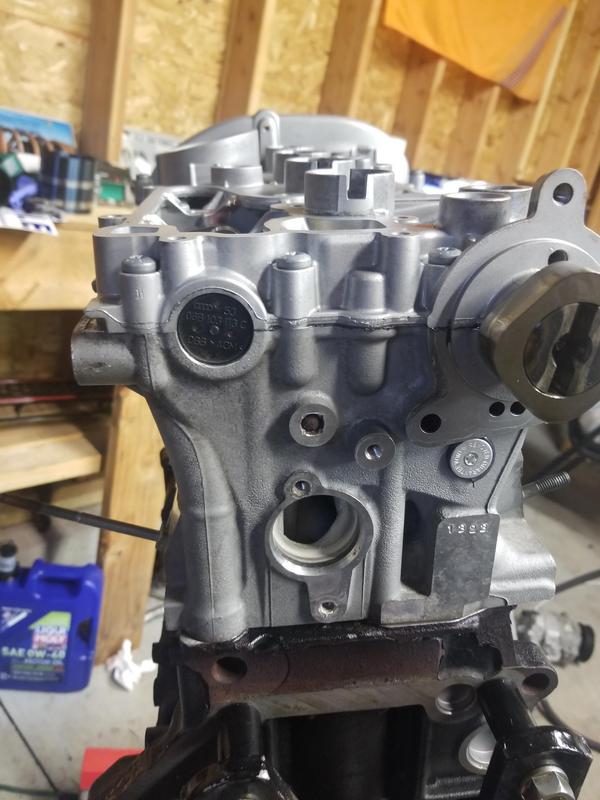
Realized I forgot to post getting the cams in and valvecover on so here it is
Was able to sneak out and get some work done before we took off for the weekend. Got the cams in and the valve cover on. I really hope I didnt mess up with the amount of gasket used. I would definitely prefer to not have to try and re-seal it. It'll be able to sit and cure over the weekend and then once I get back gonna get the bottom end all sealed up and move onto the timing.


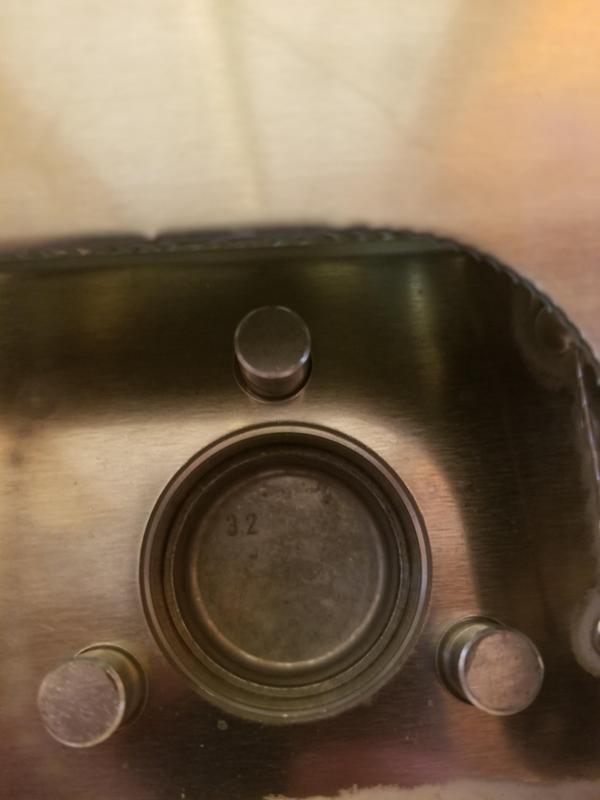
New Camshaft plug, always replace according to vw
 

smanierre

Autocross Champion
So I actually cleaned off the lower section after work. Used the small screw driver again to scrape out the big pieces of gasket from the screw holes, then the dremel to clean the rest up. I had to use a metal brush this time since the plastic wasnt cutting it, but I just went on the lowest speed and i'd say it came out pretty good. May try and wash it later and potentially get it on tonight, but i'm really not too sure if that's gonna happen.


smanierre

Autocross Champion
Got my oil pan on so the bottom part of the motor is mostly sealed now except for the timing. Just had to bend up the piece slightly with a pair of pliers, nice and easy.


Got the intake side balance shaft in as well. The seal on the water pump side was a bit dirty but still seemed to be ok, I oiled the little nub that sticks out and it came out pretty clean which I think is a good sign. Luckily didn't have to mess around with putting it in the freezer either, just slid right in.


The exhaust side shaft has a plastic sleeve that goes over it and once you put it into the block you need to compress it a bit to fit in a groove on the other end. Messed with it for like 15 minutes but no luck. Posted in the engine builders group so hopefully they have some tips when I go out next time to try it. Once that is in then i'll be getting all the chains on and getting it timed up.
 

smanierre

Autocross Champion
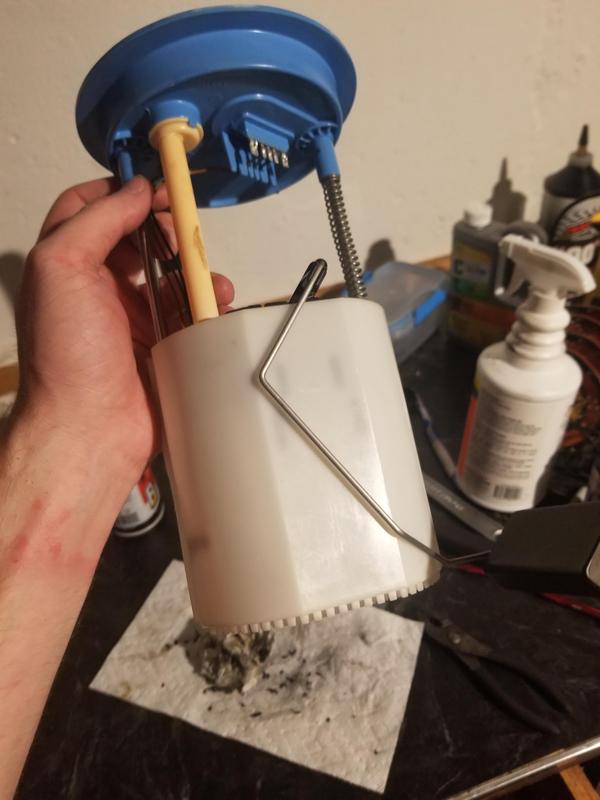
Pulled out my fuel basket earlier to work on my LPFP setup while I wait for parts to pull my oil pan. I realized the origincal guide I was going to follow isn't going to work as the user wired the pump right into the relay instead of using the stock wiring. I was looking at it and came up with a plan I think that will work, assuming the wiring works the way I think it does. My plan was to cut off the front half of the basket, along with the bottom, then mound the new pump with zipties to the remaining portion, with a hydramat on the bottom to still get all the fuel in the tank instead of having to keep it above a certain amount like other solutions. I would also still retain the level sensor as well. I would then solcer the wires of the new pump to the existing connector, this is of course assuming that a new, much larger pump, is plug and play, although with the pm4 I think it would be, i'm going to ask around in some torqbyte and big turbo groups to get their thoughts on it.
Area of the basket I want to cut off

Connector I would solder the new wires too, seems easy enough.

My foolproof solution to keep the existing gas from fuming out the garage. If it doesn't work i'll just siphon the rest of the gas out of the tank.
 

smanierre

Autocross Champion
Started work on my LPFP setup. First step was to remove the wires going to the oem fuel pump. Just held the soldering iron to it for a bit until it melted and they pulled right out.

Next was to remove the fuel pump and little hydramat that was in the basket. Don't have any pictures really of this part but there are 3 plastic pieces that hold it onto the basket. I used an oscillating tool to just cut right through them, and used some wirecutters to snip the corrugated fuel line which i'm going to replace. Then I cut off the half of the basket that didn't have the fuel level float on it.

This let me maneuver the tool to cut off the bottom section of the basket as well, which would block me from installing the hydramat otherwise.

Used some computer duster to clean off all the plastic bits from the cutting and it looks brand new


Last thing to do before re-assembly is to get off the last bit of fuel line, going to probably cut it off with a razor.

Here is a mockup of how it's going to look once I get the pump installed with the hydramat, then solder the new wires in and I should be all set.
 

smanierre

Autocross Champion
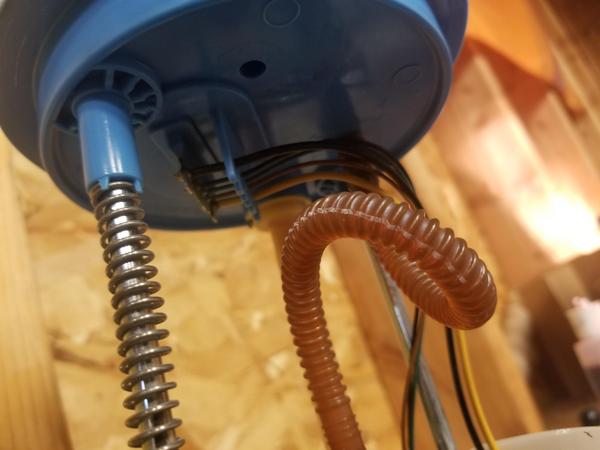
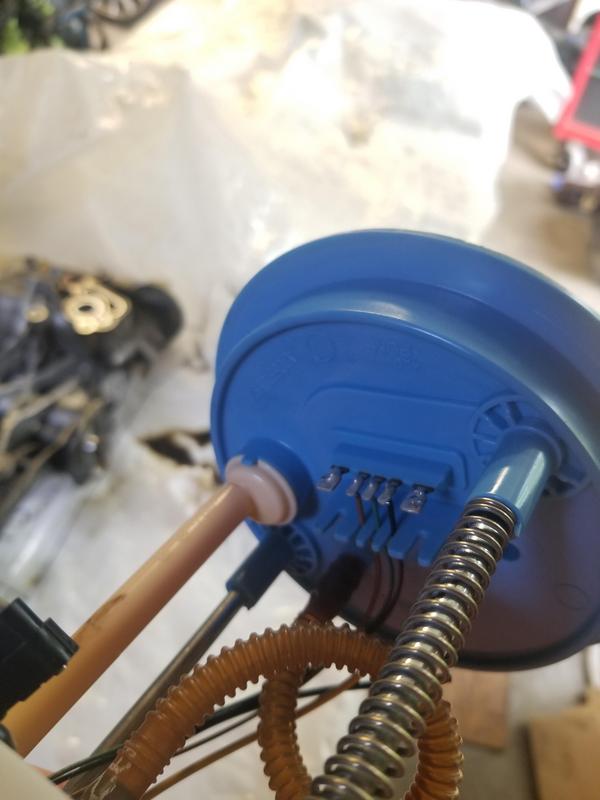
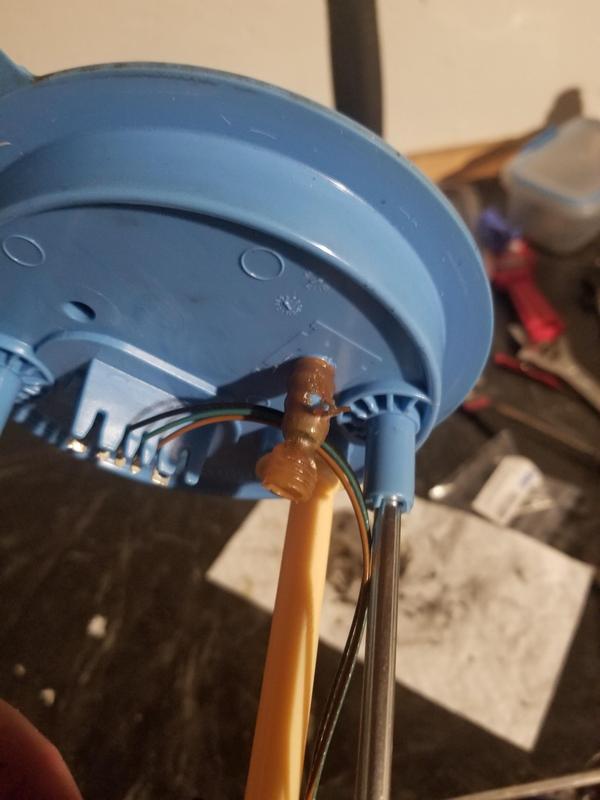
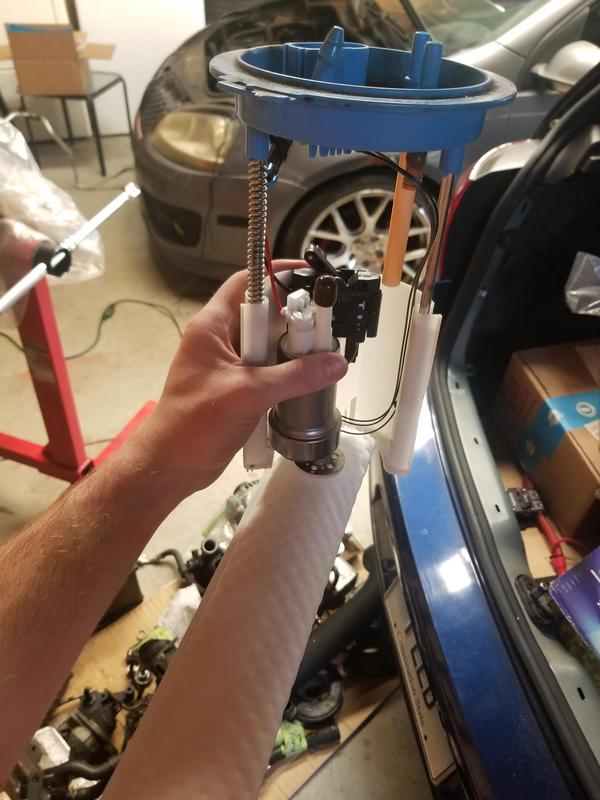
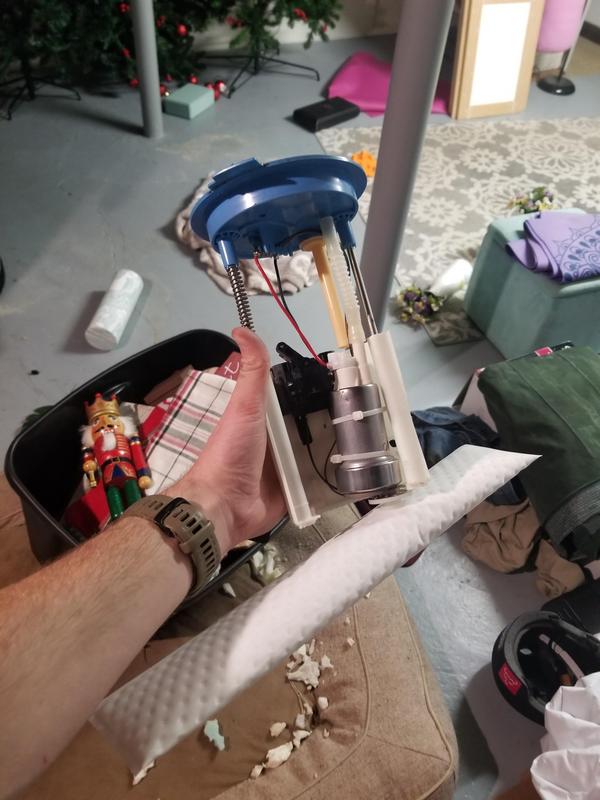
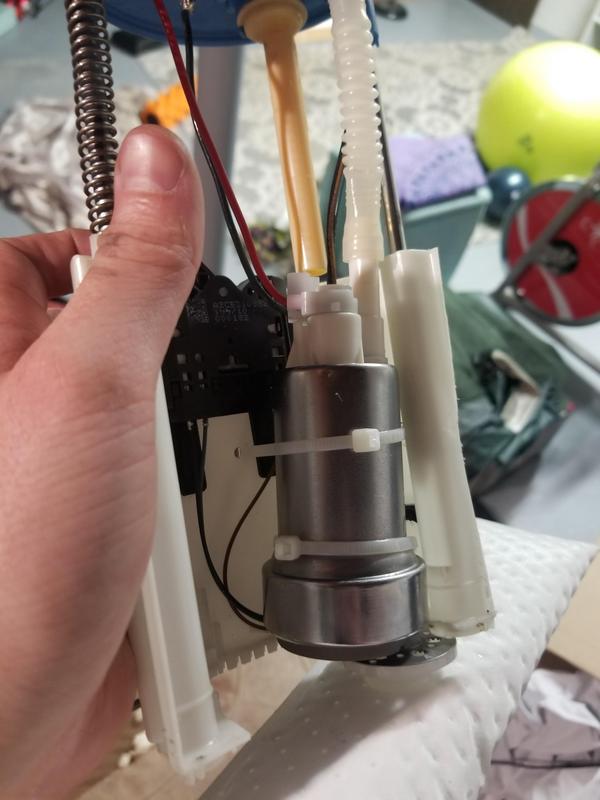
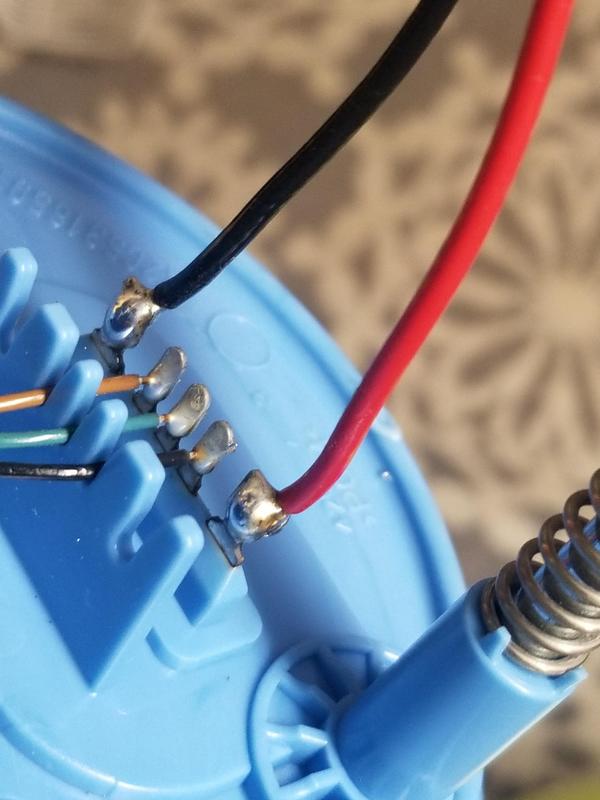
Got my fuel pump setup pretty much done. Unfortunately the wires were too short to be mounted the same way as the other wires, and the soldering job wasn't the best, but overall I think it it looks ok. The corrugated fuel line is much shorter than the OEM, which turns out to be an issue. It goes straight down instead of looping, which means when the spring goes to compress down it binds up, so I may need to adjust the setup a bit, but I won't know once I try to get it back into the tank. Does anyone think there would be any issues if I tested it out by running some water through it before hand? I'd let it dry out before actually installing it in the tank. I just want to make sure there are no sparks coming from the solder joints because gasoline. Here are the pics of the setup as is tho:


Top