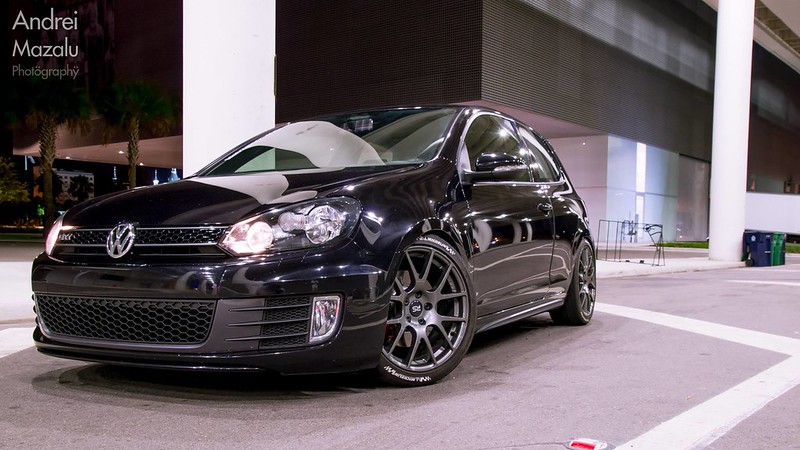
Sherlock997
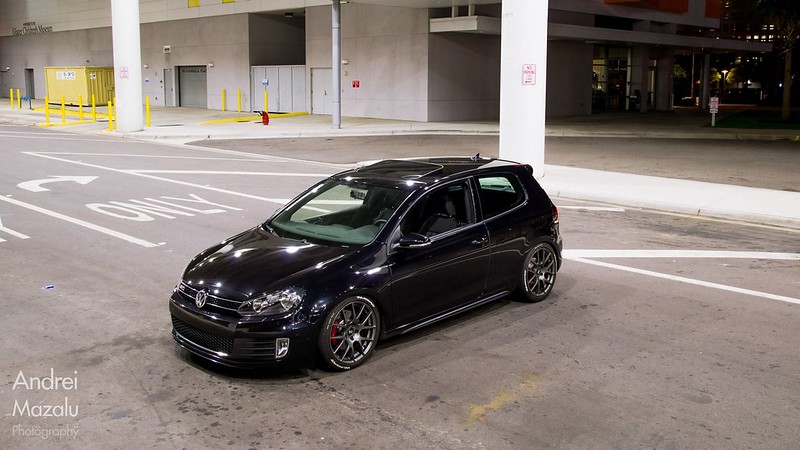
Ready to race!
I had a few people ask me how I did the while lettering on my tires so i decided to make a DIY on how to paint your tire letters white. First off you will need the following:
I got the Sharpie paint pen from Home Depot but I think any home improvement store should carry them or you can order them online. I did 2 sets of tires with just two pens so they do last quite a while. I list patience because this does take time and is tedious. It took me about 8 hours to do a set of tires over the course of two days.
The DIY is with my new set of Bridgestone Potenza S04 Pole Positions that i took my time with. I did a hasty job on my current set of PSS because I just wanted to see the end result knowing I would be getting rid of them within a week or so. I did paint the PSS mounted on the car and it is miles easier if you take the wheels off the car if possible.
A little bit of a disclaimer, I have only had them painted for a week or so. I honestly haven't even washed them yet so i have no idea whether or not it comes off with certain products. I have read that if you have previously used tire foam or shiner it does tend to come off faster or possibly crack the paint. I'd recommend giving your tires a good cleaning before applying the paint to get the tire as clean and free of any previous products that have been applied. Also, the Bridgestones have seated lettering and not raised like the Michelines which made it quite a bit easier. This is the end result with the Micheline PSS:

Step 1
Now onto the DIY. The tires I am using are brand new and did not have to be cleaned. I did use some brake cleaner on a shammy to clean up the PSS. Make sure they are clean as any dirt can get smeared around in the paint causing the letters to come out yellow and not pure white. Once you have given the tires a good scrubbing it's onto step two.
Step 2
Once the tires are cleaned take the paint pen and start coloring in any lettering you wish to be white. Do several coats or until you are happy with the color of the letters (I did 3 coats). It is okay if it spills a little onto unwanted parts as that is where step 3 comes in. This is my result and as you can see it's not perfect.

Step 3
Now you're going to get the Q-Tips and what ever paint remover you have. I just happened to have nail polish remover around the house and used that. It actually worked very well and didn't have a sickening smell to it which was a plus.

Take the Q-Tips and dab them into the paint remover of your choice. Note that the Q-Tip should be damp and not dripping wet. Then carefully go round the edges of the lettering removing any unwanted excess paint to clean up the lettering. This is tedious and takes time so be patient or you will screw up the letter and have to go at it again. The end result should look something like this.

I did go back and touch up the lettering to help give it a little more pop. That's why the final result looks more white than the shown picture.
Step 4
Once that is completed repeat these steps until all the lettering you want to be white is white. Then enjoy!!! :thumbsup:
This was the final result of my Bridgestones.

Just a little update. After two weeks of having the letters painted they have been driven in the rain a couple times, been through some spirited back road driving, and a wash I am glad to say the paint has held up amazingly. Looks just like the day i painted them. No cracking or flaking whatsoever.
- Cleaning product for tires
- Paint Pen (I used a Sharpie Paint Pen)
- Paint remover of some sort
- Q-Tips
- Patience
I got the Sharpie paint pen from Home Depot but I think any home improvement store should carry them or you can order them online. I did 2 sets of tires with just two pens so they do last quite a while. I list patience because this does take time and is tedious. It took me about 8 hours to do a set of tires over the course of two days.
The DIY is with my new set of Bridgestone Potenza S04 Pole Positions that i took my time with. I did a hasty job on my current set of PSS because I just wanted to see the end result knowing I would be getting rid of them within a week or so. I did paint the PSS mounted on the car and it is miles easier if you take the wheels off the car if possible.
A little bit of a disclaimer, I have only had them painted for a week or so. I honestly haven't even washed them yet so i have no idea whether or not it comes off with certain products. I have read that if you have previously used tire foam or shiner it does tend to come off faster or possibly crack the paint. I'd recommend giving your tires a good cleaning before applying the paint to get the tire as clean and free of any previous products that have been applied. Also, the Bridgestones have seated lettering and not raised like the Michelines which made it quite a bit easier. This is the end result with the Micheline PSS:
Step 1
Now onto the DIY. The tires I am using are brand new and did not have to be cleaned. I did use some brake cleaner on a shammy to clean up the PSS. Make sure they are clean as any dirt can get smeared around in the paint causing the letters to come out yellow and not pure white. Once you have given the tires a good scrubbing it's onto step two.
Step 2
Once the tires are cleaned take the paint pen and start coloring in any lettering you wish to be white. Do several coats or until you are happy with the color of the letters (I did 3 coats). It is okay if it spills a little onto unwanted parts as that is where step 3 comes in. This is my result and as you can see it's not perfect.
Step 3
Now you're going to get the Q-Tips and what ever paint remover you have. I just happened to have nail polish remover around the house and used that. It actually worked very well and didn't have a sickening smell to it which was a plus.
Take the Q-Tips and dab them into the paint remover of your choice. Note that the Q-Tip should be damp and not dripping wet. Then carefully go round the edges of the lettering removing any unwanted excess paint to clean up the lettering. This is tedious and takes time so be patient or you will screw up the letter and have to go at it again. The end result should look something like this.
I did go back and touch up the lettering to help give it a little more pop. That's why the final result looks more white than the shown picture.
Step 4
Once that is completed repeat these steps until all the lettering you want to be white is white. Then enjoy!!! :thumbsup:
This was the final result of my Bridgestones.
Just a little update. After two weeks of having the letters painted they have been driven in the rain a couple times, been through some spirited back road driving, and a wash I am glad to say the paint has held up amazingly. Looks just like the day i painted them. No cracking or flaking whatsoever.
Last edited:

